It was good in a way to have break from Mendel last weekend particularly as the ground outside is frozen solid this weekend.
As I have re thought the design. First I will remove the two extra Nylon corner blocks on the bottom bar of the two A frames they are used in a real Mendel.. my lazy / simplified design they are now not required.
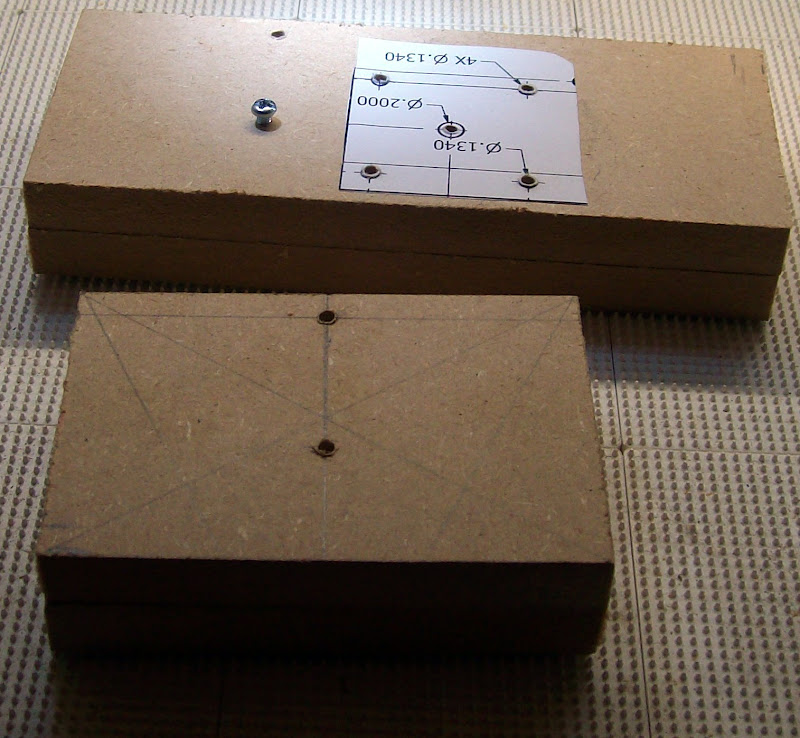
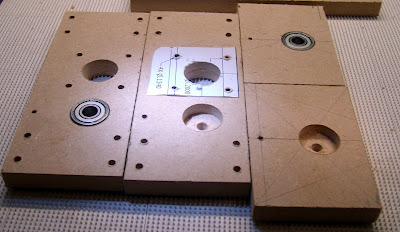
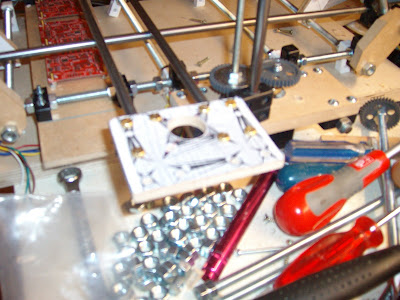
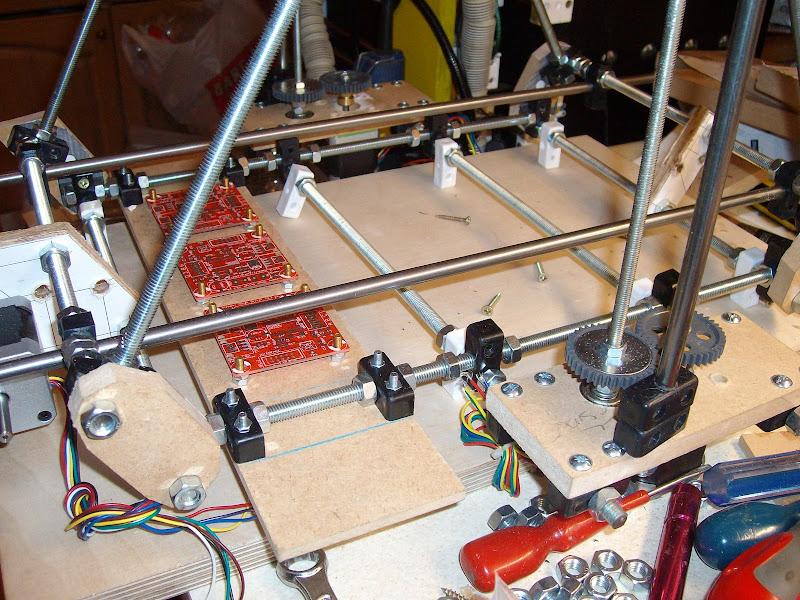
I have cut 2 MDF plates 2 off of 150mm x 60mm X 12mm and 2 off of 90mm X 60mm X 12mm for Z axis.
Finding that I did not have along enough belt I found a little draw with some of these Geeenweld gears for the Extruder V1 its a pack of 5 for £1:30.

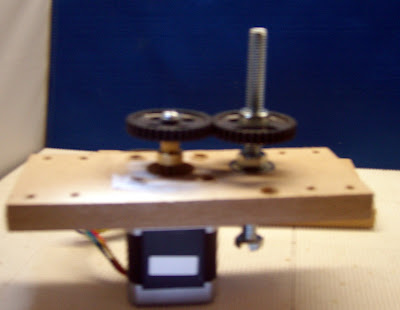
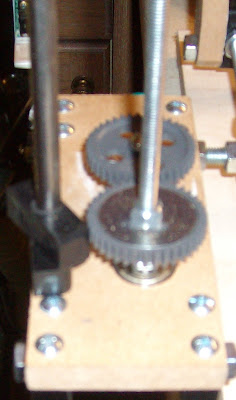
Screwing one gear through the threded rod hole then positioning other meshing with it. I got the center mark to stick my photo copy of a stepper motor on. Drilling out the tiny hole in one gear to 5mm so I could screw it to the brass hub from Conrad means ~I can fitt it to a stepper.
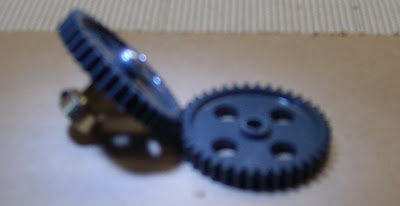
First I thought I would keep this true to Mendel so I drilled the other two gears out to 8mm big mistake the colar causes the drill to run off center here is the first experimental result.
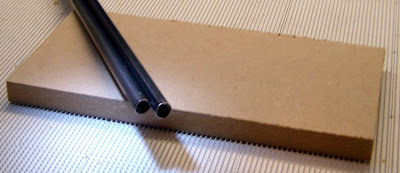
Making a few diffrent machines ~I also did not have enough 8mm bar but I did have 8mm tube that a 6mm bar fits I used tube on Bertha CNC so I know this works.
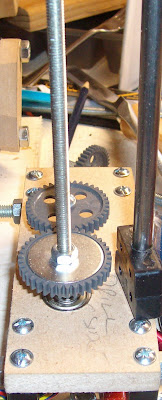
So to regain a concentic hole I found 6mm penny washes fited the gear center perfectly one each side of gear removes wobbly gear effect the skate bearings then needed to have a skate bearing insert to reduce the 8mm hole to 6mm great problem solved no need to use belt for Z axis just two cheap steppers.
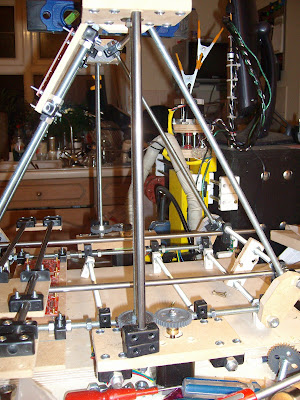
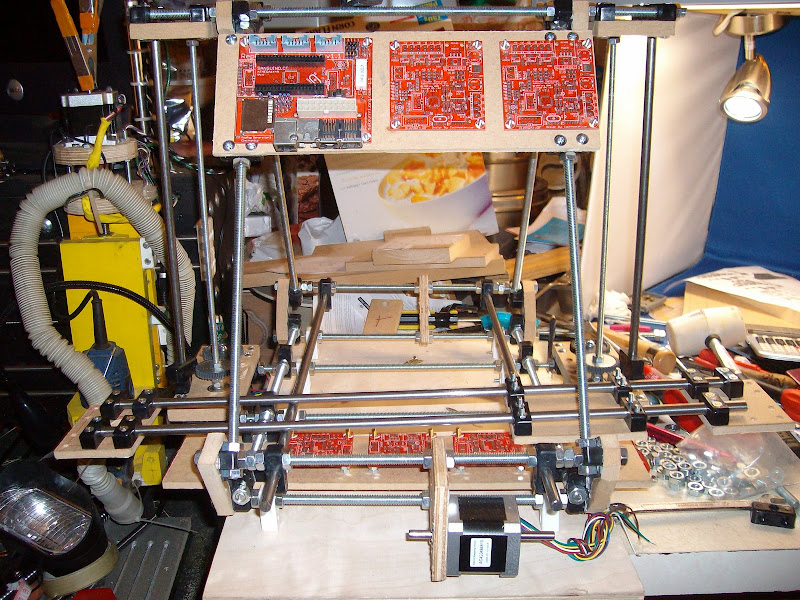
Final assembly picture

My X axis is about 10mm wider than the printed parts. The Z cartridge is made from 1off 97mm X 84mm x 6mm the 2off X end plates are 62mm x 84mm 6mm.
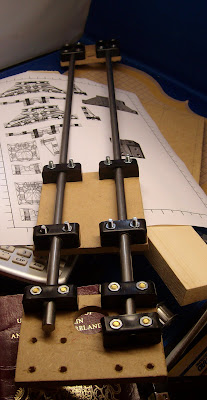
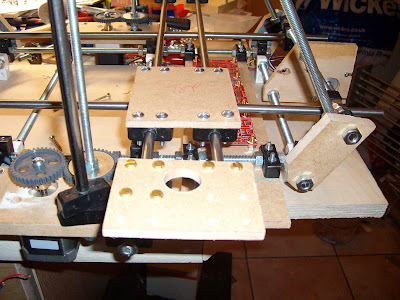
I have not made proper drawings yet as it was a simple process of positioning the bits and holes to suit I have set the Slider 30mm from the Screw drive on both sides of the Z axis. To maintain the alignment I drilled these holes out using a 2.8mm drill then drilled the bigger holes.
Just a few parts left to make now.. the build base carridge to mount the build base madelast week and the Z axis drive and slider/bearing mounting board.
 |
| From Blogger Pictures |
This an ongoing post through out Saturday 19 December pictures to be added.
5 comments:
of all the repstraps I think this is my favorite. excellent job, and i look forward to future posts.
are those corner brackets you are using custom or something from a hardware store? something mcmaster-carr stocks by any chance? I saw your prior post about drilling out the centers, but didn't know what the original part was.
Fixing Blocks in pks from DIY stores in my blog notes I re Drill some holes out from the original 4mm hole to 8mm or 8.5 mm
In the Uk every single DIY shop sells these blocks all use a diffrent name to describe them.
I used the same blocks in this Blog http://repstrapdarwin.blogspot.com/
Also to build Bertha my original CNC machine
here are some UK on line Diy store links to thes parts.:-
http://www.wickes.co.uk/Fixit-Blocks/invt/164410
http://www.screwfix.com/prods/25399/Fixings/Furniture-Fixings/White-Assembly-Joint-Pack-of-10
http://www.diy.com/diy/jsp/bq/nav.jsp?action=detail&fh_secondid=9370789&fh_view_size=10&fh_eds=%3f&fh_location=%2f%2fcatalog01%2fen_GB%2fcategories%3C{9372218}&fh_search=fixings+&fh_refview=search&ts=1261270332595&isSearch=false
A nice little web site I found detailing the usual use of thes blocks.
http://www.diydoctor.org.uk/projects/knockdownjoints.htm
Your doing really well, Im looking forward to seeing your results.
Can I just ask a couple of questions?
* If you have a couple of repstraps already, why didnt you print the parts to make a full blown Mendal RepRap?
Im at the point where I either pack in with CopperRap 2 and go for a Mendel, or finish it and print the parts for a Mendel.
* You have added a pair of gears to the drive chain at the end of the sliders - arent you concerned about the backlash of the gears? Will you add some anti-backlash device or are you going to risk it?
Untill I build the Modular Flat Pack Solar Shed I dont have the table space for the Two Darwins I have I have spent almost all day moving stuff out of the Kitchen ready for Christmas. I have literaly just started playing with Mendel again.
Mendel fitts on thw small £6 Ikea folding tables as it is not so high and looks narower (its not) I can get away with having it in the Dining room it covers over and dosent look so ugly as Darwins do.
The gears are plastic and seem to be a tight fit. The Z axis usualy is only moving upwards as it builds so I am not to concerned with backlash as each layer is about a third of a turn of these gears. So I dont think I will be affected by backlash as tis is only moving in one direction. Maybe Nophead will corect me if Im wrong on with this idea.
Post a Comment