Work area before importing big box from China !
After unloading the Big box from China unpacking disassembling using video sent from China then after removing the front door and door frame then lifting part by part into the house re-fitting door frame and front door then resembling the machine here is the resulting photos!!
Extra insulation stage 1 and solar power system re-mounting.
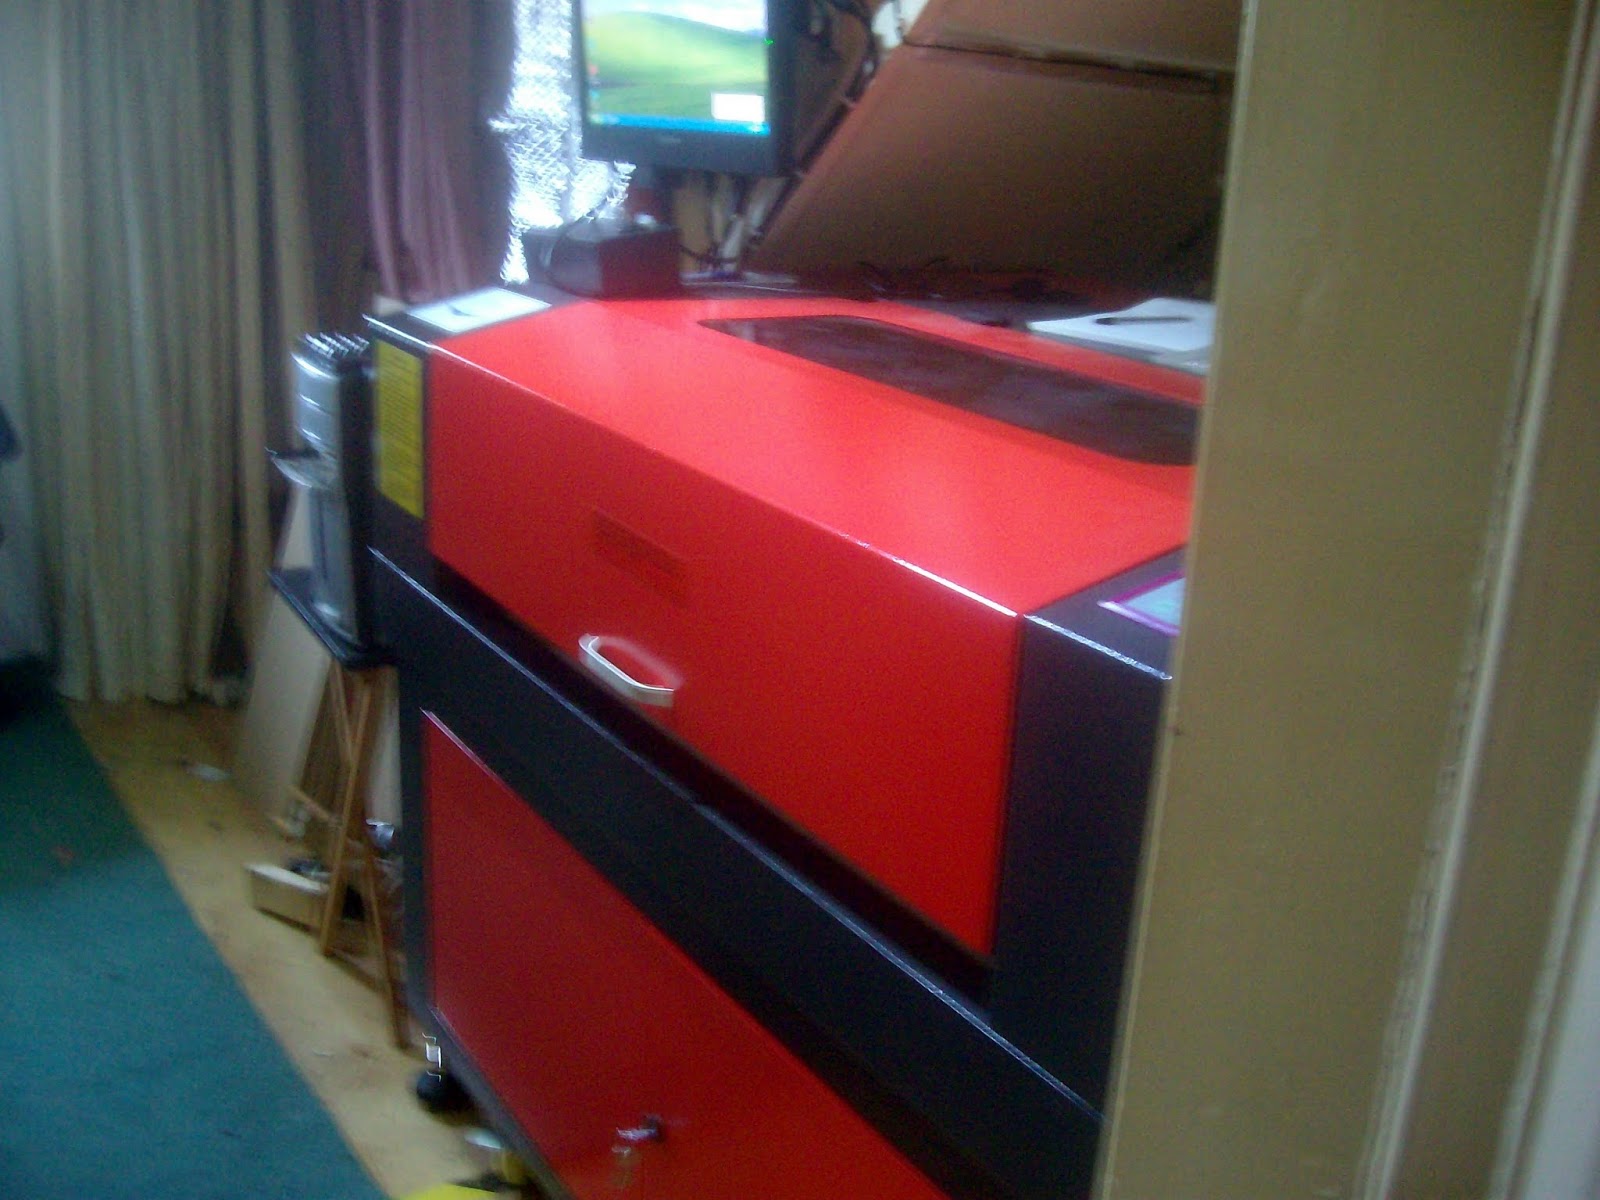
Same space just a little bigger machine in the space!
or from the the angle :-
So here is the cutting bed its three times bigger than the original machine!
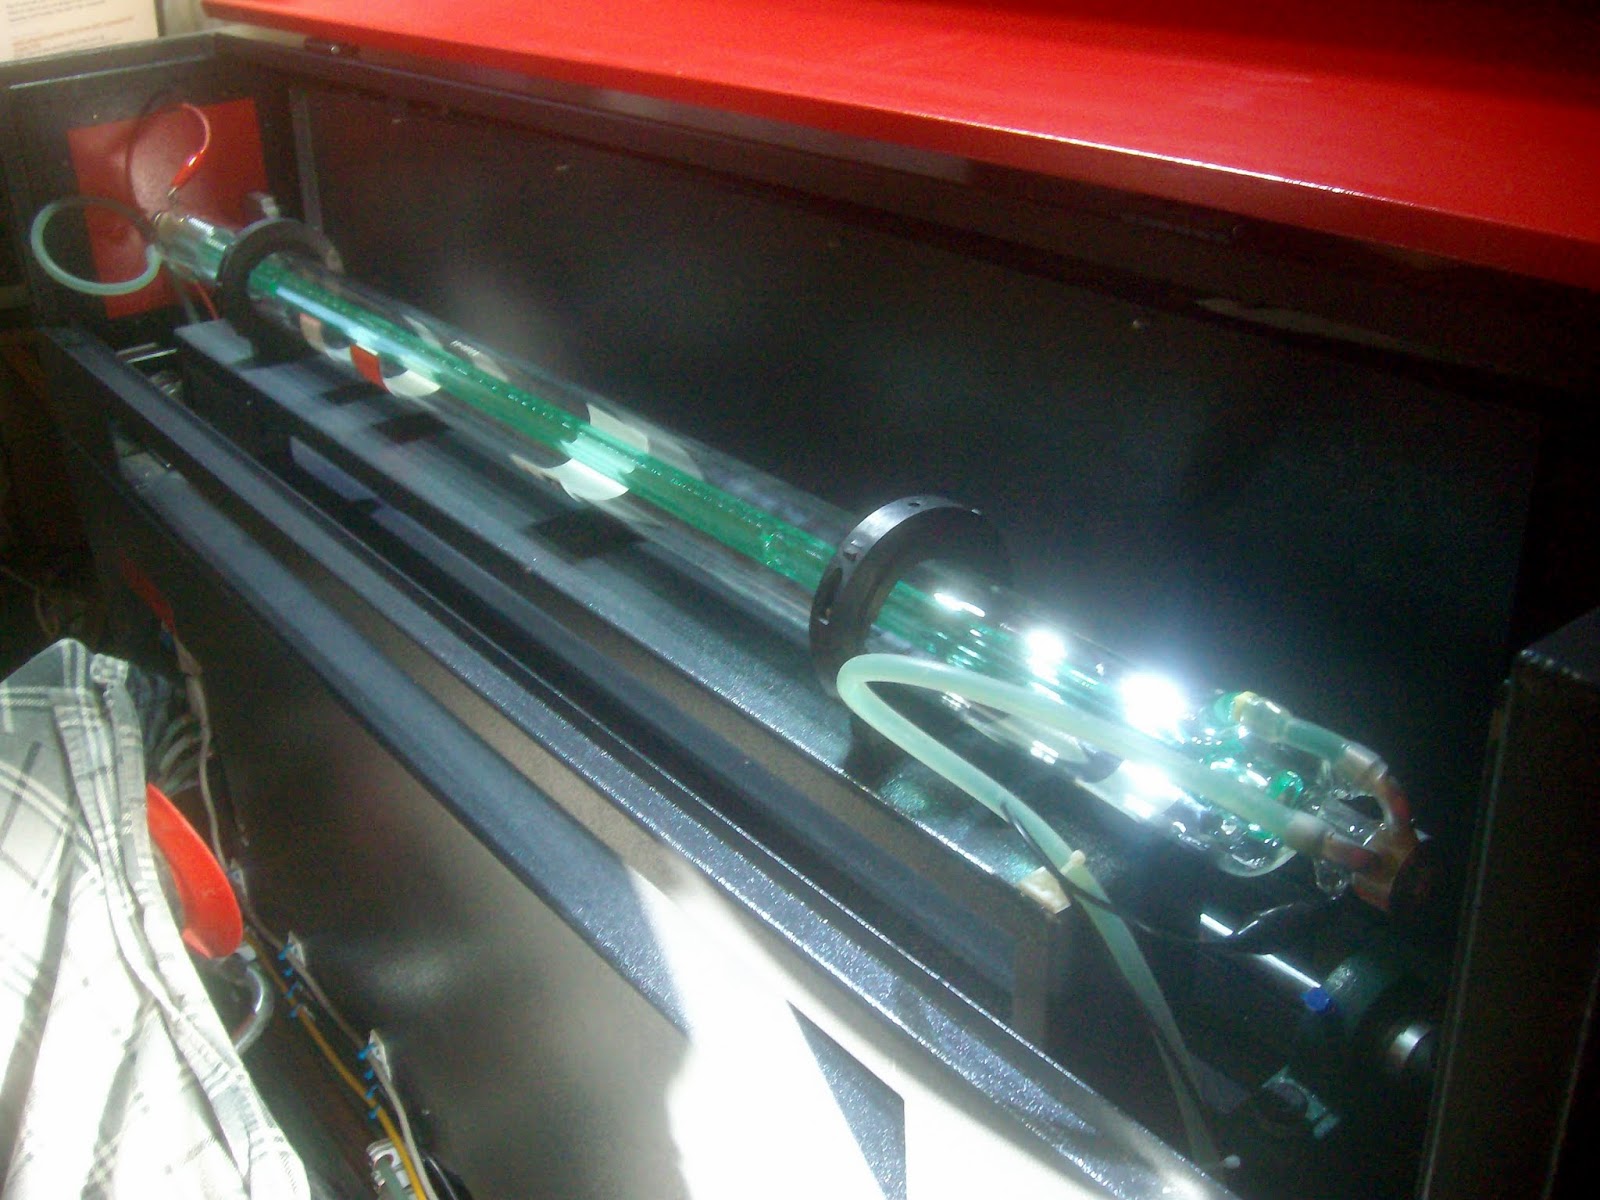
its had to get good pictures in such close proximity installed and working with 11lts of cooling fluid imagine my supprise at seeing where the water goes in the tube you can see from the picture below.. why I was so supprised.

Yes it is not in the outside of the laser tube but in the inside of the tube its green as it has 25% antifreeze to stop algae growth and improve cooling the laze passes thru the coolant!! it has a 6" extractor tube compared to the 4" of the previous laser cutter all of the works are contained within the case I have added my own extra control circuity for the extractor fan and air compressor as in the original configuration these were on all the time they are now switched on by the controller as and when they are needed thus making this much more energy efficient my next task is to implement another idea buy removing the cooling system and changing it for a ground source cooling eg ground source heating is created from the 8C temperature of the earth 1m down now that could be used equally as well for cooling the tube instead of its radiator cooling system that will only regulate to ambient temperature. I read some place 8C was the optimum temperature to get 50% better cutting efficiency from the tube.

.JPG)
.JPG)