Tuesday, December 18, 2012

Saturday, July 21, 2012

Robots V Artists at Knutsford in Cheshire this Weekend

Robots V Artists at Knutsford at the Old Town Hall in Knutsford in Cheshire this Weekend!! 10am to 4pm

Robots supplied by David Buckley

Artists supplied by Cheshire Open Studios.

Photos and write up coming after the first day Today.

Pop in and see the event at the Old Town Hall in Knutsford

10am to 4pm if you are going to the RHS show at Tatton Park this Saturday and Sunday Yep that's this weekend!!

Friday, April 20, 2012

quick pictorial update Test Jig for BIQ_SanguinoCNC /Laser PCB

Over view of the electronics on the test Jig

Sorry not much time to type we are at Fablabs 2nd birthday event this weekend.
Comments at the preview last night said I wasn't blogging  enough any more..

Oh its quite cool that the first build of the PCB worked  !!!
Its running using a slightly changed version of Marlin firmware @ 16mhz need to find a 20Mhz boot ROM for Sanguino or figure out what's wrong with my environment settings as Make file wont make! my altered
boot ROM code.


Side View of the test Jig
Showing 50V 500W PSU to drive the 4.2A Stepper motor

ie 2 Phases at 4.2A = 8.4A hence a 9.9A PSU at 50V


Close up of bodged together rev counter

Monday, April 9, 2012

Meet Colin my Assistant provided by my Local PCB manufacturer about 800m from my Door


Thank you Wendy from CC Electronics Europe Limited.

A quick set of  random-ish pictures of various stages of development of bits and bobs.


Huxley Seedling is still in progress there are over 100 pictures of  Huxley Seedling yet to be moved to my PC from Midges camera.
Part of the full build instruction set for the final version.
There have been many many re-designs and improvements made over the last year.

Here is a quick over view of some of the other projects:-


http://reprap.org/wiki/BIQ_SanguinoCNC   PCBs arrived on Thursday first pictures.

Top Side


Bottom side


BIQ_SanguinoCNC /Laser is a new project for controlling CNC machines or Laser cutters with a a 3D printing ability.

In fact the first two CNC machines it is going to control here are Big Bertha the 1200mm x 620mm CNC and a new Project the CNC lathe very basic design Idea is to take 500mm of stock material to drill and cut parts  to length in an automated fashion.. (not holding my breath on this idea yet but looks promising)


The Huxley seedling A frames are becoming a universal building block for all sorts of new Ideas projects
.

60 BIQ opto end-stops made - only enough end-stops for 20 Huxley Seeding Kits


Pictorial guide on making leads for the BIQ opto end-stops.

Click a picture to enlarge


If only the RepRap WIKI was as easy as blogger to upload and edit you posts and pictures It would make life soo much easier!! 


Colin was very shy to begin with .... 


Saturday, October 22, 2011

BIQs 1st day @ Bang Goes the Theory Live Manchester with FabLab Manchester

After a successful Top Gear challenge result yesterday morning with Midge Ace doing her wanna be the first female Stig impression, driving a typical "James May" type car against the clock we got to the Bang goes the theory live venue within our allotted time slot.. Phew..

Note to Midge when Jem announces fire in the hole or something like that and your at Bang Goes The Theory LIVE setting up day you shouldn't jump out of your skin as Midge did.. LOL.. Bang!!!!
Anyway I'm up early collecting the bits and bobs to build one or more of the Huxley seedlings at the show We will aim to build 2 Huxley Seedling 3D printers & demonstrate at least one of them them working....

Will post Pics if any come out its an even  Darker Hall than Maker Fair was in March this year.

We are not far from releaseing Beta versions of Huxley Seedling to testers then it will not be too much longer before we release a take away 3D printer that will be avalible in Pocket money staged sections.or in full kit We will be offering fully built machines as well depending on demand.

Sunday morning 5am update
Trying to build two 3D printer when you are surounded by visitors to the show is almost imposible..  I will post pictures tomorow /  tonight of how far I got with building two printers.. the basic frames were finished yesterday thats 4 A frames with fronts and back frame seperators on each printer finished. 

Wednesday, July 20, 2011

The only takeaway 3D printer Kit so far...

 Still here just a tiny bit bizzy its a case of Slowly Slowly Catchy Monkey, presenting the only takeaway 3D printer test packed in its pizza box!


The only takeaway 3D printer test packed in its pizza box!
Includes printer frame, reel holder, extruder, nuts, bolts and bars with a sprinkling of fix it blocks!


Cut with a Solar powered Laser Cutter... To Be Continued......

Sunday, March 13, 2011

Huxley Seedling is at MakerFaire UK 2011

 After a long while without  a post here is a Short post from our hotel room in Newcastle on Tyne..

A 3.5 hour drive up from Cheshire yesterday, we set up the stand this morning pictures to follow. We are on stand 52 if your passing this way..;-) tomorrow. I've not had much of a look around the show yet Midge had a good look today & took a few pics..
This new laptop doesn't have a memory stick reader so cant up load them from here we will try tomorrow from the show if we get a quite spell ~ it was busy to day with about 2,800 visitors we were told. unofficially
 There was a few comments from visitors at the show about the number of different 3D printers.
So far from Midges walk around she spotted there were 3 Makerbots, 1 RapMan, 1 Mendel, 1 Lasercut Mendel, 2 E-maker Huxley's our 4 of our Huxley seedlings two of them bare frames two with electronics (still waiting for our Huxley seedling boards) so one machine with Gen3 electronics 1 Machine with an allinone CNC printer port driven stepper controller running from EMC2 Linux. This was built for Midge to play with engraving, paper embossing paper cutting  and PCB cutting  Midge also wants to extrude Acrylic paint and Acrylic Media for crafting her art orientated applications.

We also have a early stage Harvester 3D scanner build that is a little behind schedule now...  we suffered burst pipes again this year this time it was Midges house so that has delayed us a little.

Pictures to go here........Compared to thos on the Photo stream our pics were not that good ;-(

Any way here is one taken and shared and uploaded to Nottinghack's photostream (700)

Sunday, November 28, 2010

Bodge & Midge Visit Fab Lab Manchester.

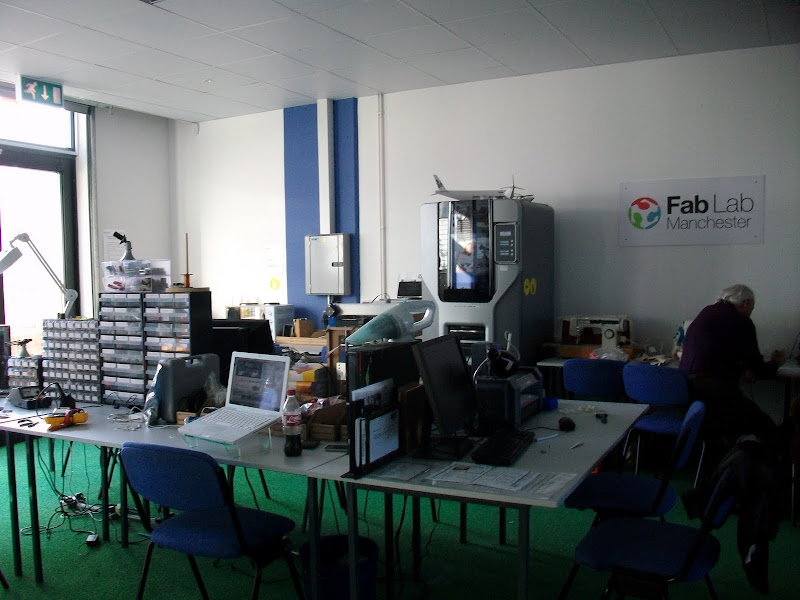
Its time to write a few things up and share with you the wonders of  FabLab Manchester


As you know I have been making drawings of both of my Re-Strap renditions so that others can build their own Repstrap that works without having to re-invent the wheel to solve the problem of not having printed parts to start with. I have been taking at least a week to make all the parts from my drawings it gets tedious you end up with huge collections of sometimes useless parts. I have piles of failed ideas filling boxes in the workshop.
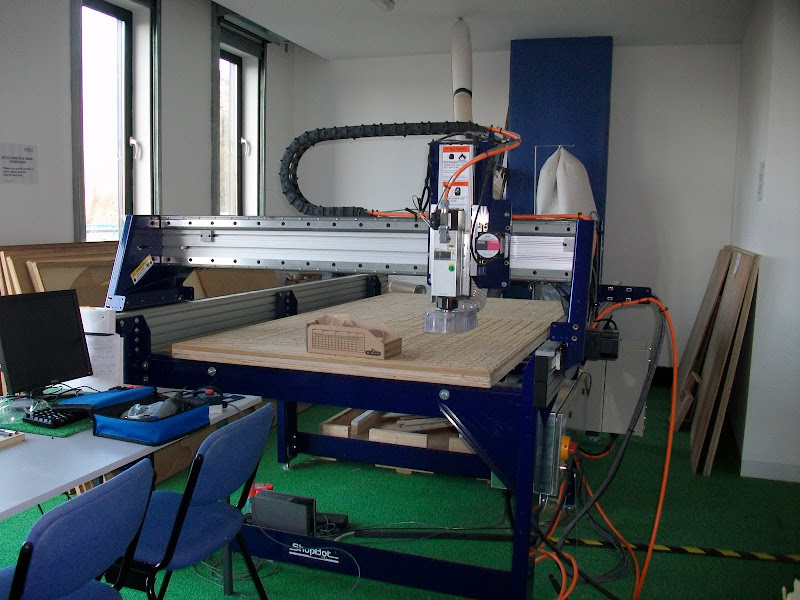

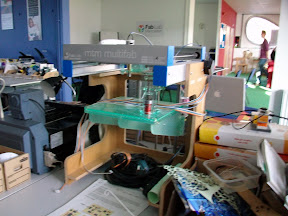

Above Right MTM multifab has a similar design principal to http://blog.ultimaker.com/ a small box sliding on two cross hair bars.

So I thought I would save some time if I could make use of the equipment at FabLab Manchester.

The Laser cutter in particular which is the most popular tool in FabLab so there seems to always be a Que for it.


I have now used the  Dimension 1200es Series 3D Printer It has produced an interesting result as seen in the pictures.
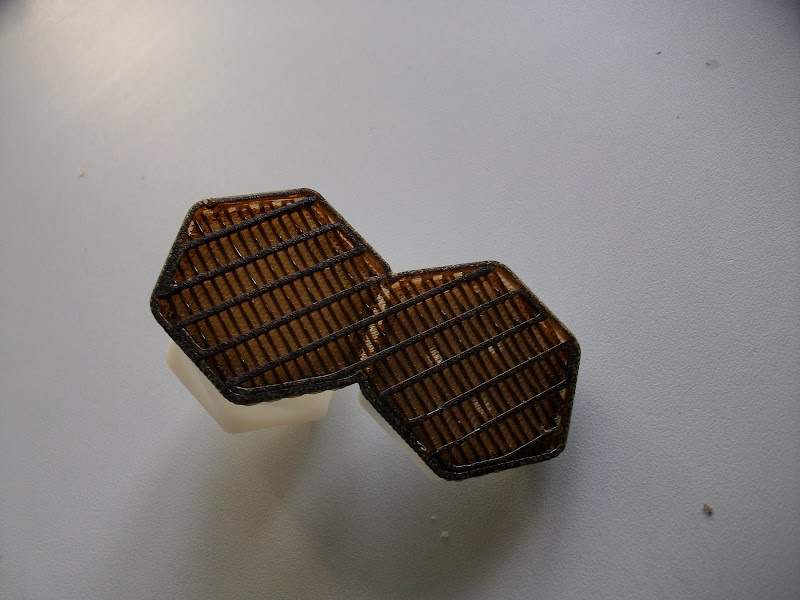


The most interesting stuff is the support material that is said to be ABS + additive. Its feels hard snaps like wafer biscuit its a dull brown in colour it behaves like what I imagine extruded sugar would be like brittle and crunchy turning to dust.t usually is dissolved in an heated bath of water soluble solvent taking several hours to be dissolved.

Dimension 1200 Print options for Wades extruder body


Low density 30.45^3 cm

High density 39.00^3 cm

Solid 44.37^3 cm

Support material


Basic 11.37^3 cm

Sparse 11.66^3 cm

Smart 10.23^3 cm


I Opted for the lowest density with sparse support material as you pay £0.33 per cubic cm for both materials plus VAT so the extruder body and Clamp was £18.05 ~ Print time on the 1200es was 4 hours.

The amount of support material used by the Dimension is huge Things printed by RepRap without any form of support material need to have support material in the Dimension. Having seen the results of RepRaps and a Dimension 1200 I think Adrian's RepRap project  has really cracked the nut particularly as RepRap results are constantly getting better.
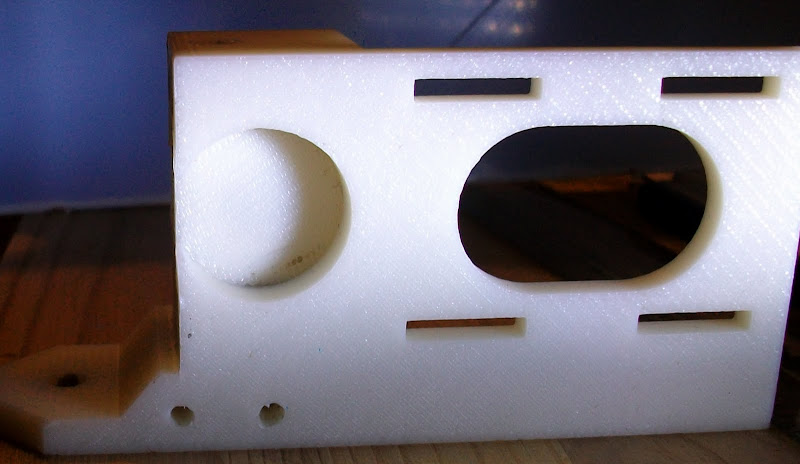

Any way I printed Wades Extruder body and clamp un-fortuantly the resultant print has an extra part to it where there should be a hole there is a thin membrain of ABS. This is not visable in any applictions I use to view STL files. Im sure that when I loaded the STL file before it was printed the hole was a hole all the way through.
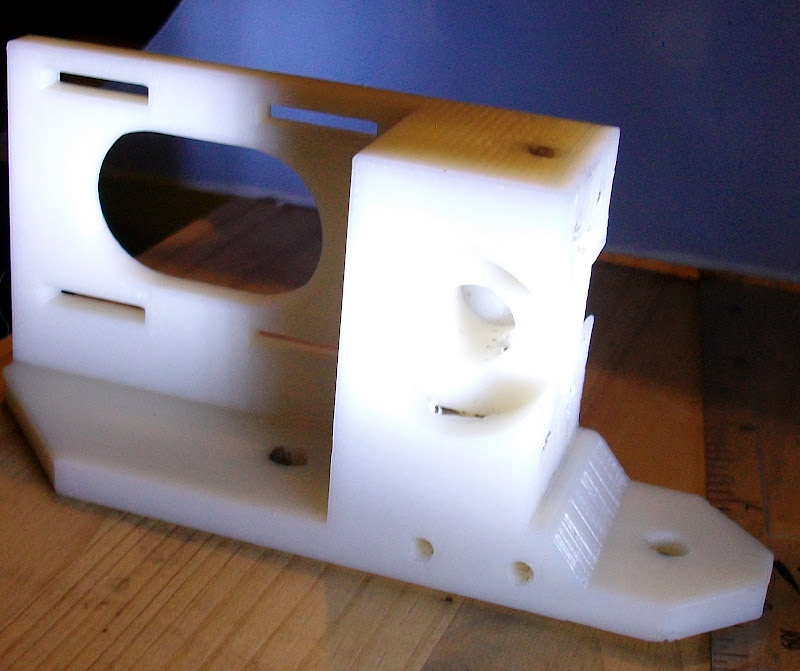


You can see I am going to have to drill out the extra material that is a 1mm thick membrane to make use of the part..

I have also used the Laser cutter its a neat tool I have save a week of sawing chiseling and drilling for each revision of my drawings I have made. As promised to Sebastian Ballard I will not blog the making of Huxley seedling here until I have put it in the ReprapWIKI.

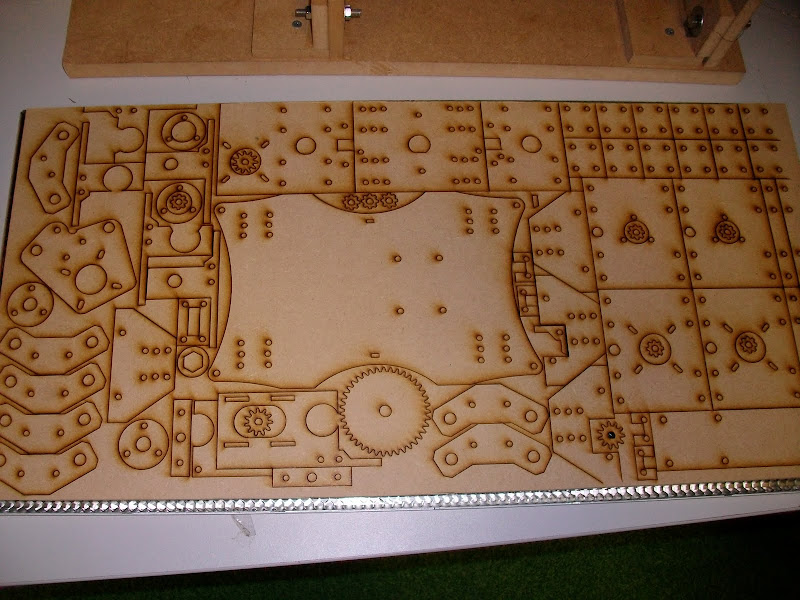
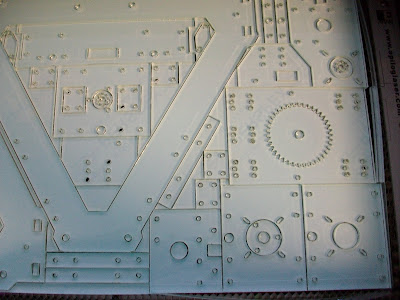
Picture of Repstrap Mendel parts / Drawings Laser cut based on my Mendel 2009 build.


Midge took a few pics of Fab Lab so here they are.


I also introduced some of the other users to REPRAP and HydraRaptor ending up having to explain what a NOP was.

Strange until that point I had not given much thought to it.. as we all know  NopHead is far from being a Nophead.
I also discovered that its really only us old hand coding or in your head assemblers form the era of and Nascoms / 8080s - Z80s that even know what a NOP is.

NOP in assembler is the instruction or mnemonic for No Operation Performed
Monday, November 22, 2010

Been busy.

Dawing and re-Drawing my new Repstrap Huxley and Mendel designs so I'v not had time for taking pictures Blogging, FaceBook, Linked-in or Twitter.

Next week I think I should have some pics. If all goes well this week I will be blogging some pictures of my results next week. I will be posting the drawings first on the reprap Wiki.

Sunday, October 31, 2010

New Hot End ~ Peak insulator melts~ as Thermocouple fell off

The idea was to have a new changeable extruder tip to allow for extruder die swell tests and a swappable 0.3 mm tip.. but alas changing / fixing some thing that's not broke or applying instant design usually fails.


From Blogger Pictures

So my insulator that has extruded by now over a 1lb of ABS I need to remake it was all going so well ;-(.


Lesson learnt do not rely on Kapton tape to hold a thermocouple onto a heater block.


At least I know the heater block works OK.. showing heater bloc and 2 copper 0.6 welding tips and a brass copy with 0.3mm hole.

Aside from that my Evolution saw ate itself earlier today not a good day..


The part on the Right is all that remains of the blade guide the part on the left is part of the blade safety cover.


It looks like the blade guide a two prong fork thing came lose it was shredded by the blade then  flew around blade cover cracking it and the blade safety cover open and the motor mount is also split open. Needles to say it did fail safely. Not happy that it failed though.