Showing posts with label Skate. Show all posts

Monday, December 21, 2009

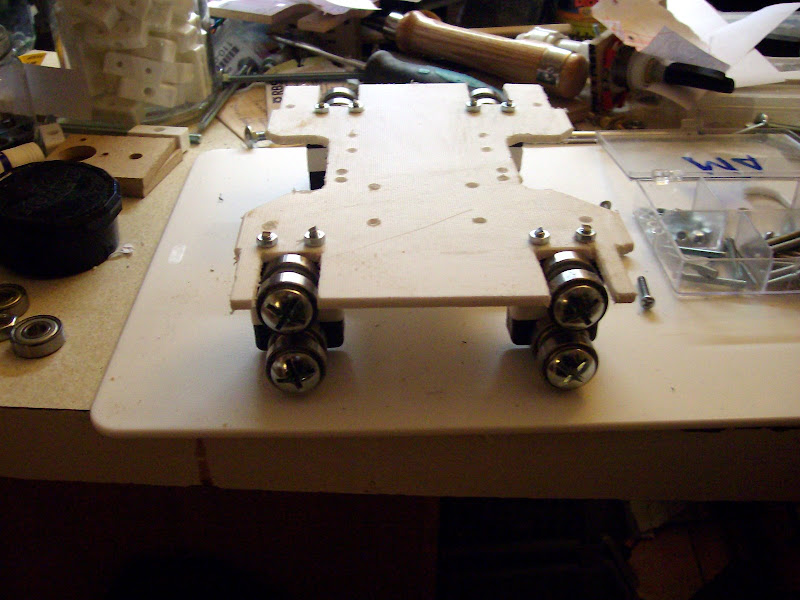
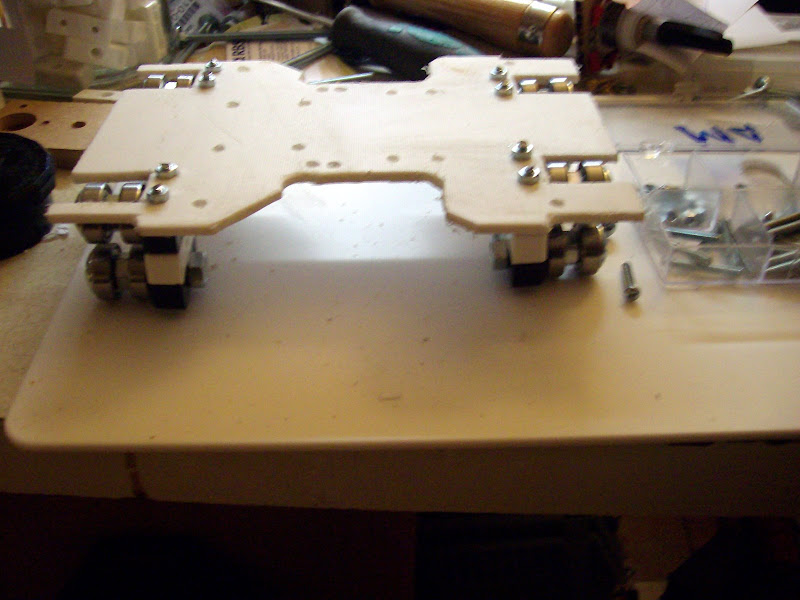
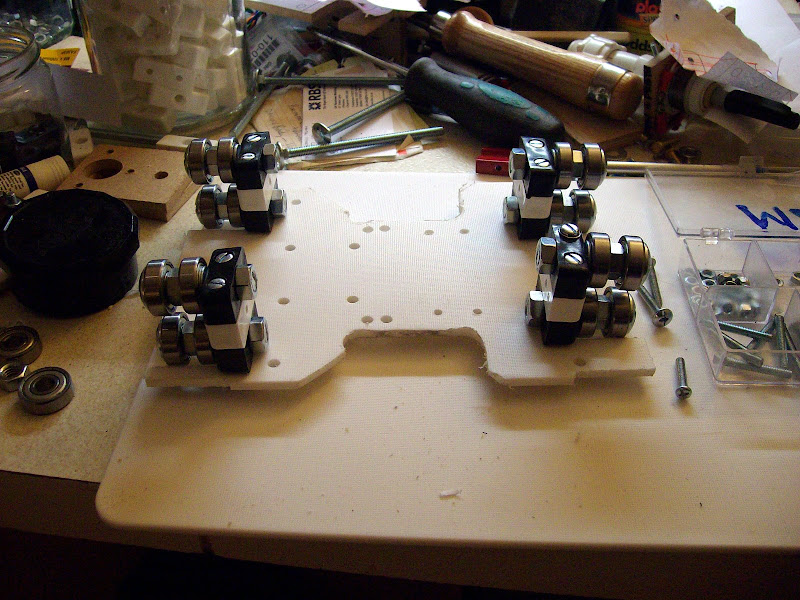
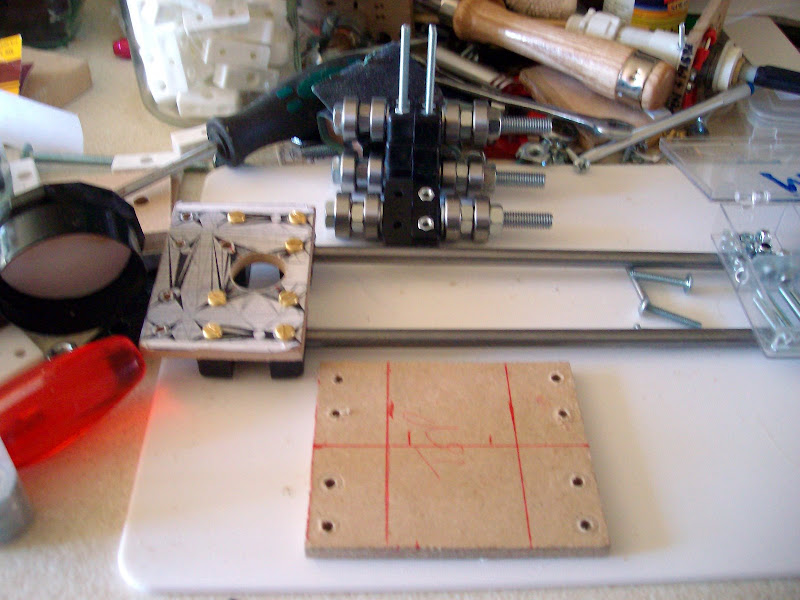
The Mendel X Slider and its Skate bearing boggies.

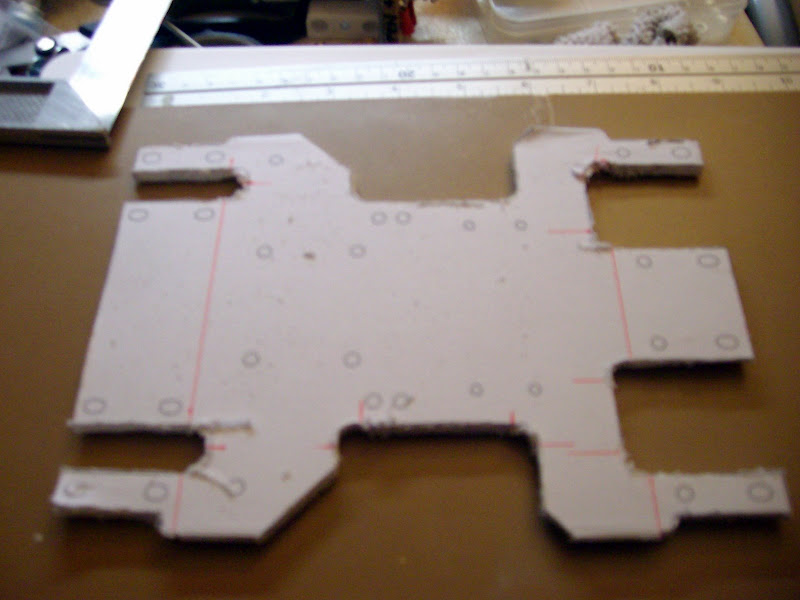
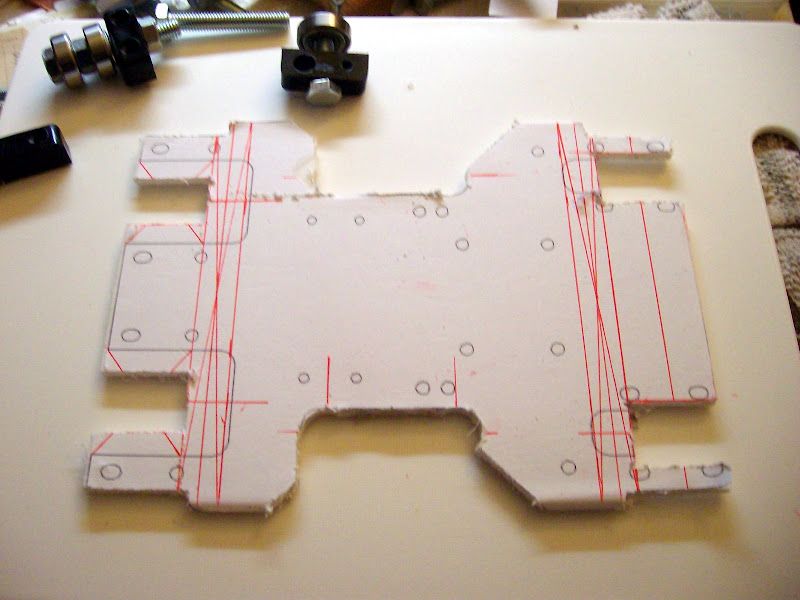
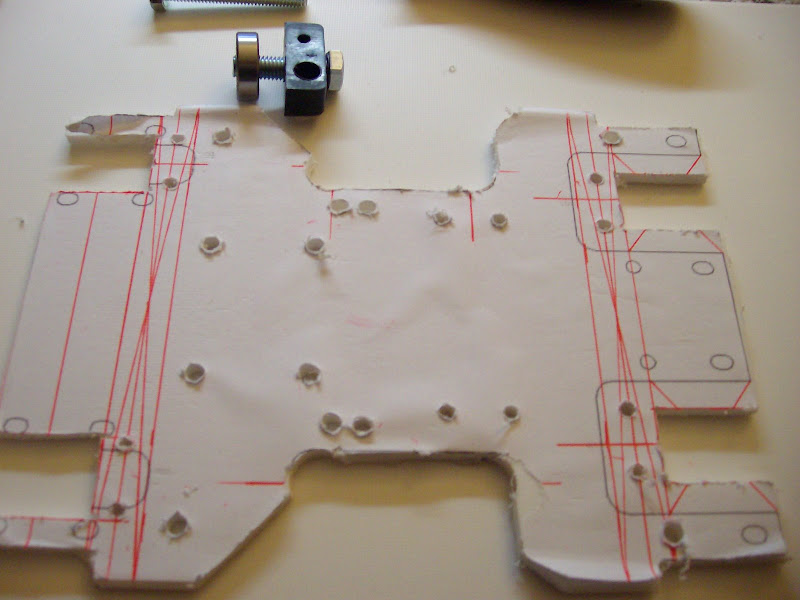
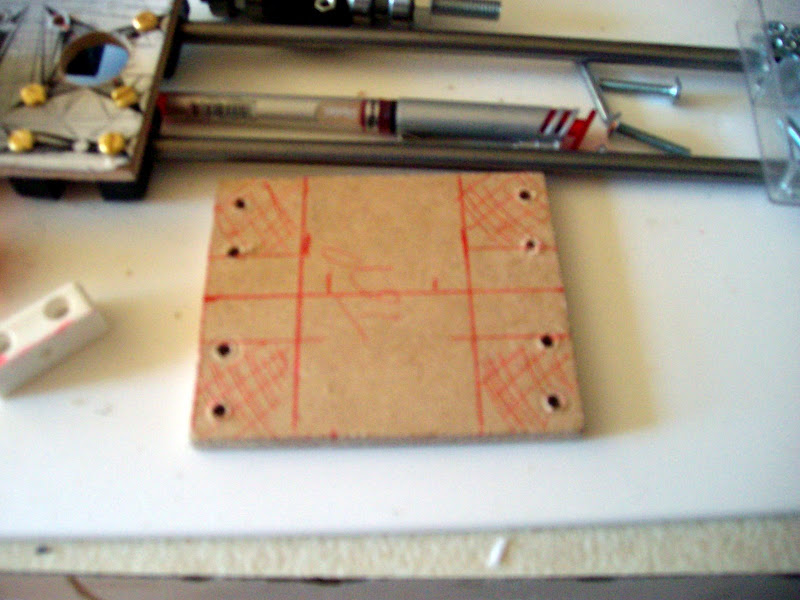
Ok so here is the photo of the X slider made on the Second build day taken apart to add some Skate bearings the red lines show where I need to make some cut outs. I will do this today. after the X slider I need to make a replacement part for the butterfly shaped part that holds the Z Bearings. The Z bearings will just be the Corner block that are alredy fitted on the Z axis sliders.


X carridge finished and fitted.. now to figure out the Butterfly part..
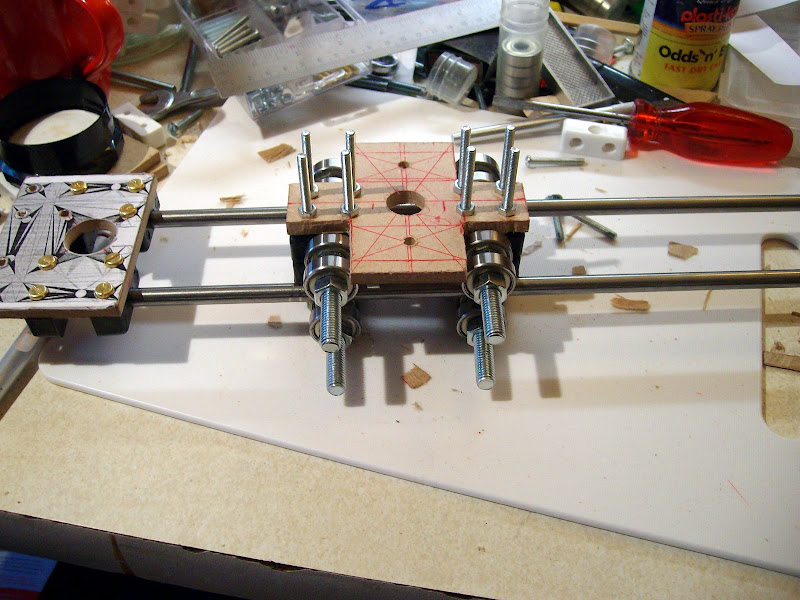


Two hour break ~~~

Back to another bit of Chopping board as Ive run out of 6mm MDF.

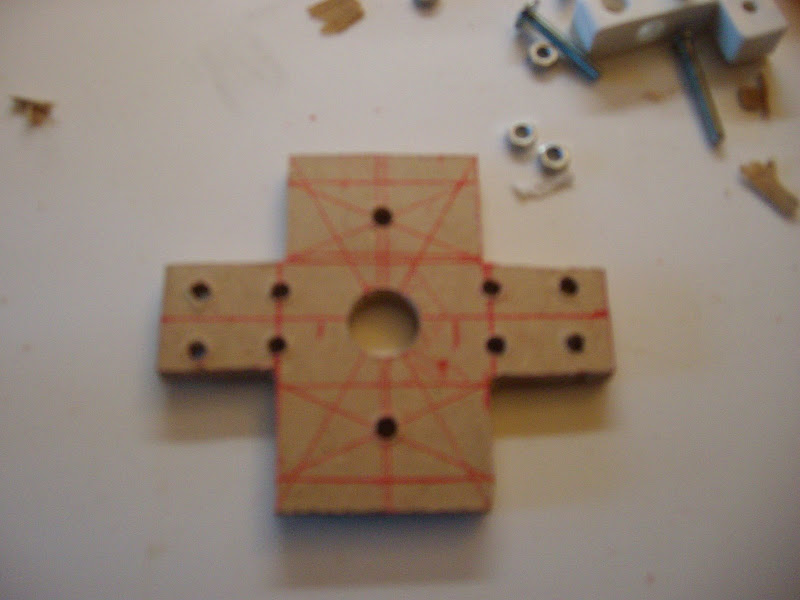
Design for the butterfly part on Mendel this is four parts that hold the Z bearings two at each end of the X axis. Design drawn on the chopping board yes too many construction lines I know I pay for this mistake as I drill one hole on the wrong X mark but thru shear luck manage to make use of the extra holes.
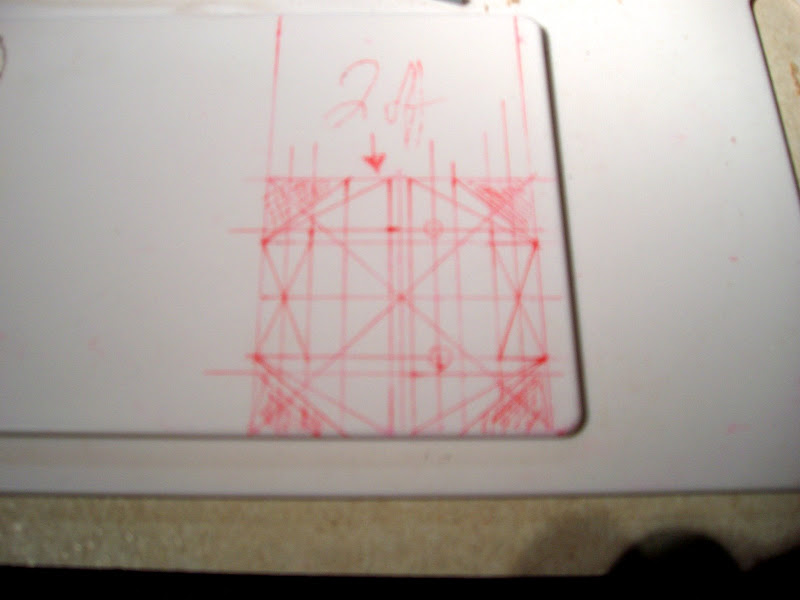


Note the two holes closest together is the mistake I drilled one of them on the wrong crosover of lines. Opps.. I do make use of thes holes later thou.
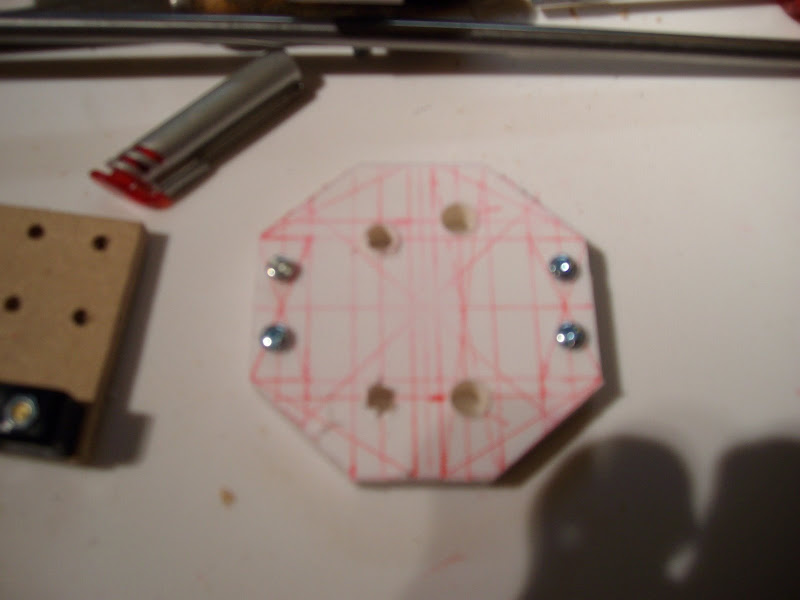


Here is the drilling template for the Z drive nuts the holes are 30mm apart the one closets to the edhe will have a 10mm clearance hole in it on the final 2 parts these are made of Oak floor boards as Im going to use 8mm bolts screwed into a 7.5mm hole in the oak it could be any wood not MDF tho as MDF will split on a peice this small.
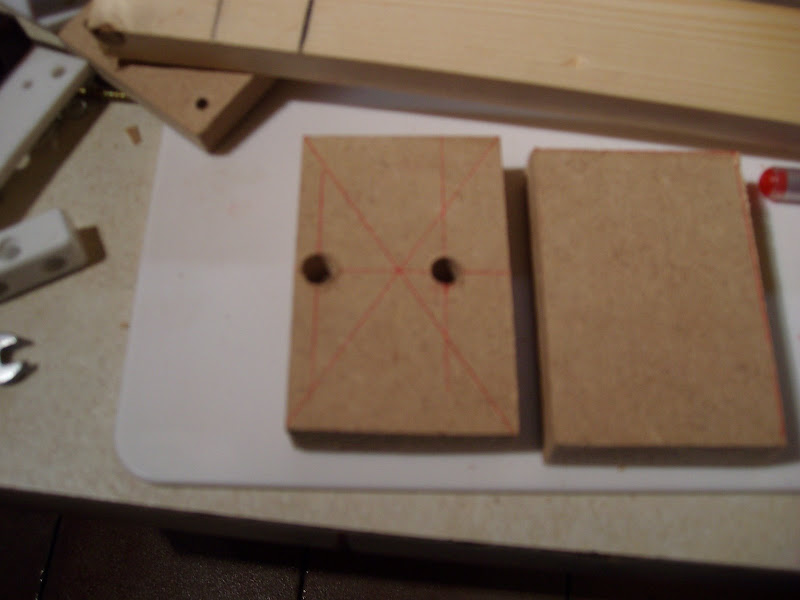


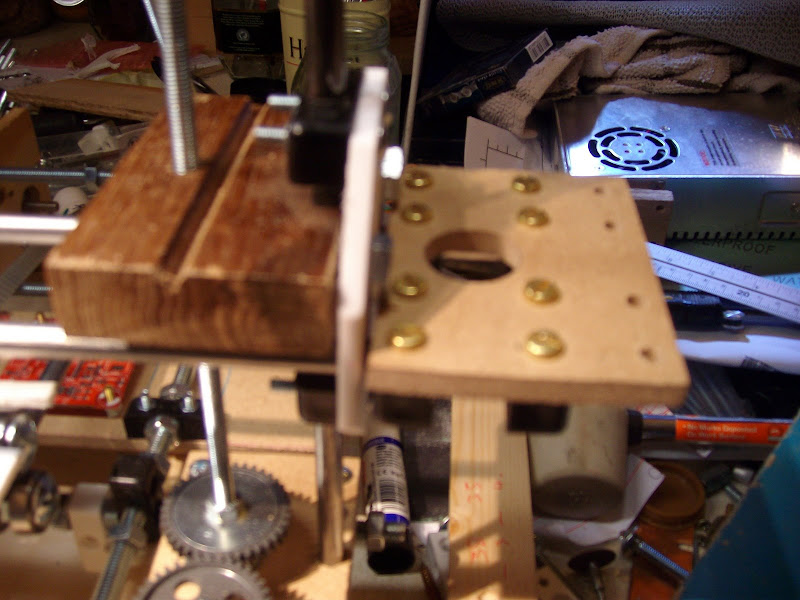
First I mounted the two Slider blocks at each end of the cut off triangles. Then held the Oak so it sits imediatly above the center line of the X Endplate drilled 7.5 mm holes through the spare unequal holes into the Oak.

The I screwed the 8mm bolts thru the butterfly plates extra holes into the oak.

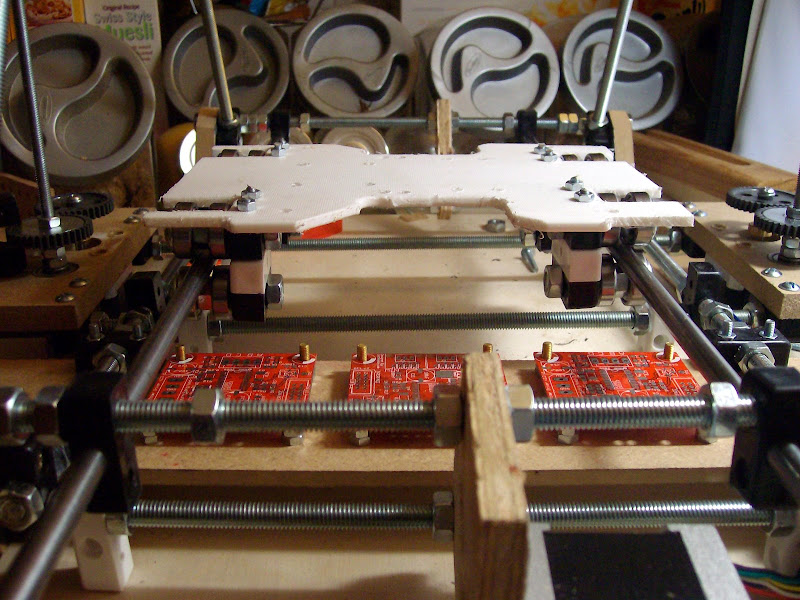
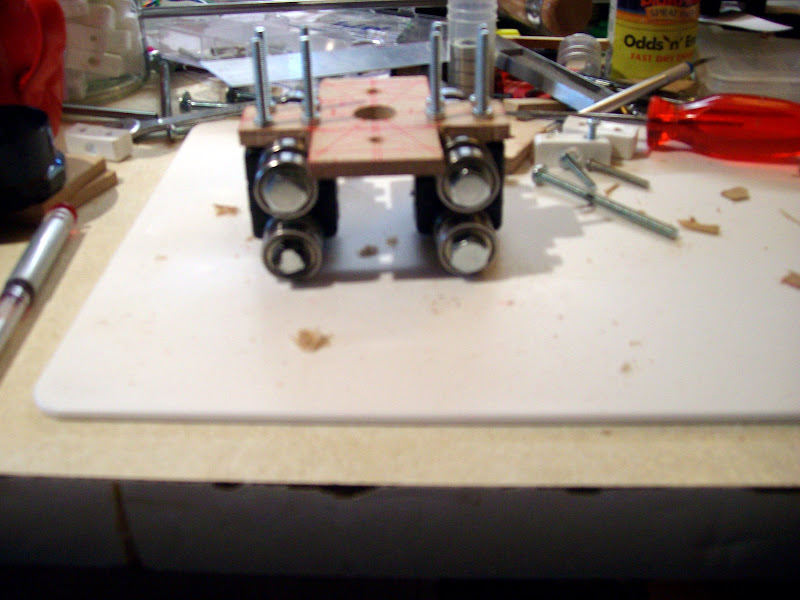
I then disasembled the X axis to fitt the Two new parts that hold the Z axis bearings fitted the parts the re assembled Mendel...
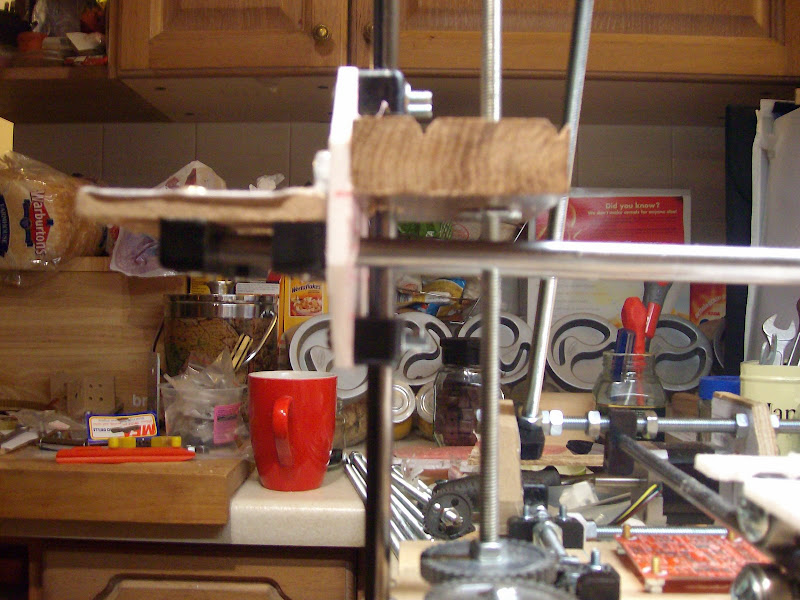
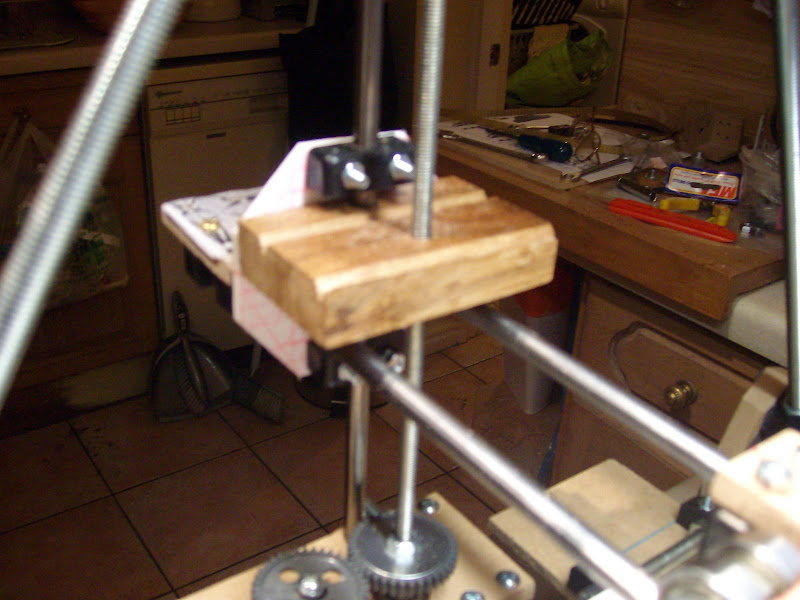


The whole of the Mendel frame is now completed...

Jobs for to-morow 1/ Square the Mendel assembly.
2/build stepper driver boards
3 fit belts and stepper motors
4/make a new Extruder to fit Mendel
5/ connct Stepper motors and test X Y and Z axies.


This will be an on going post again.. 21 December 2009

Sunday, December 20, 2009

The Snow today means its another Mendel Day

I was going to move the new 1 Ton bag of gravel from Front to Back today my plan has been Snowed off.

From Blogger Pictures

I have to keep a few little promises for Midge like moving two Darwins out of the Kitchen to the garage and reposoitioning Bertha before Christmas as all four of my girls are due to visit on boxing day. Then its a Mendel day! I will be re-creating a skate bearing carridge for the Y axis as I did with Darwin I think... but first I must do my chores.. An on going post for December 20th 2009.

Having run out of 6mm MDF I have decide to use the small ASDA/Walmart 50p Chopping board 50 as it comes with a big one for £1. In fact the big one is almost Exactly the right width for the Print Bed think I will try this as Its easy to replace.

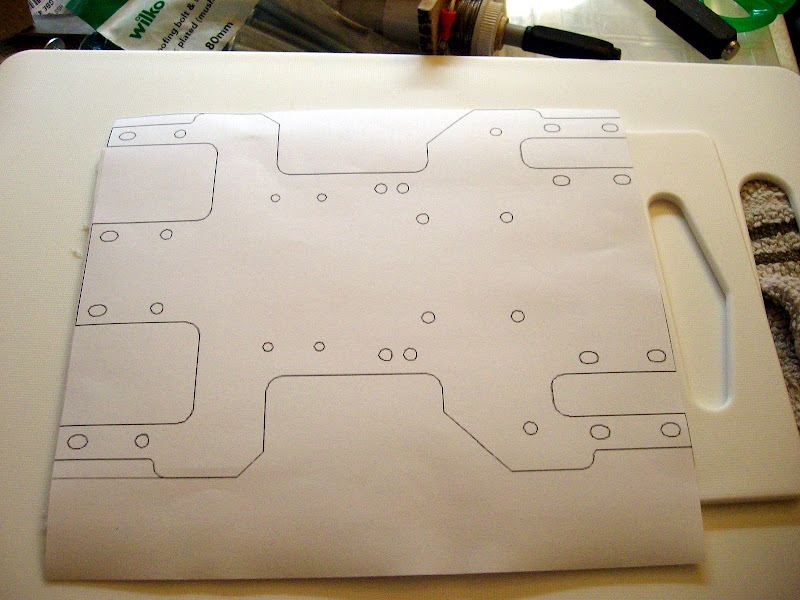
Struggling with the dimensions of it tho as the one I have Made looks a little small. here are the pictures.


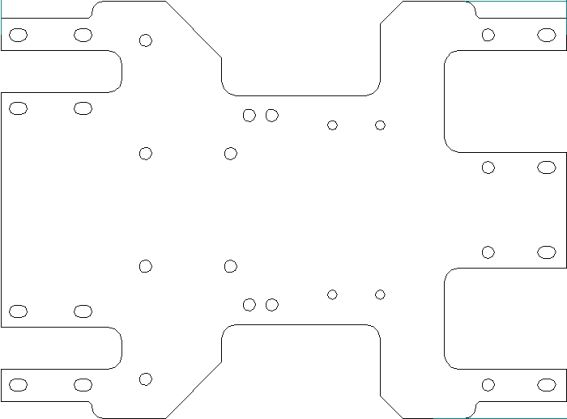
TaDA The Squashed Frog External Dimensions 148mm X 200 when put on Mendel it looks to be not wide enough for the running rails by about 10mm. If you have a Squashed frog alredy please could you confirm these dimensions for me.

Drawing 1


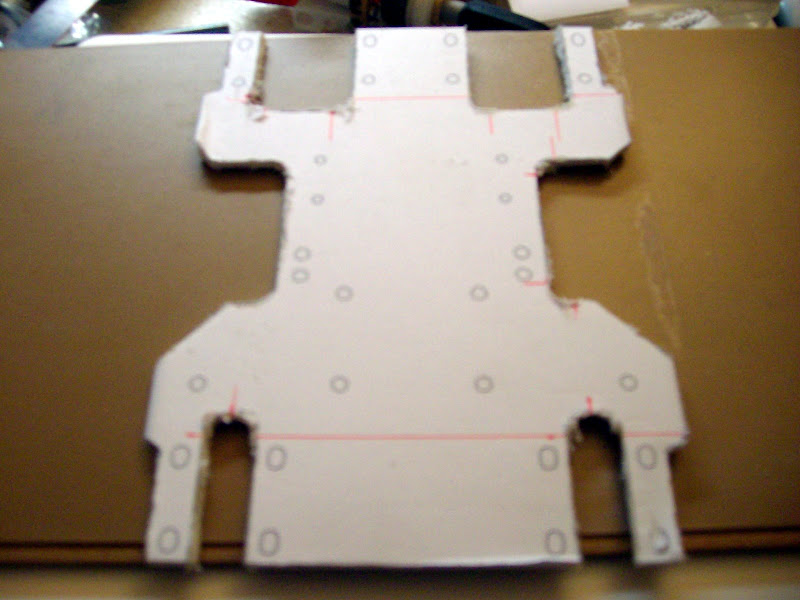
Now we need to adapt the Squashed Frog to run on Skate bearings pictorial record.

On the fly Drawing adaption.


16mm holes drilled to help cut the shapes out.


The new Squashed Frog for Skate bearings.


All of the other holes drilled


Building and fitting the bearing blocks.

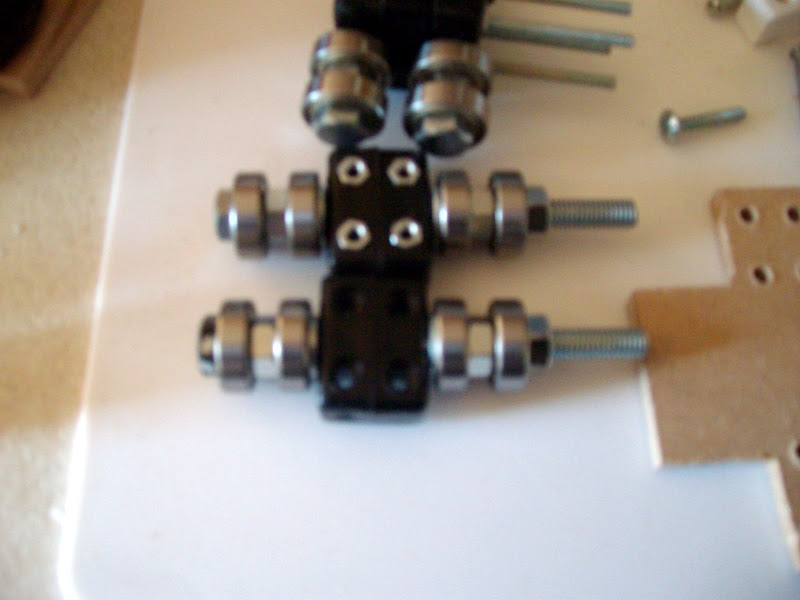
Bearing boggies made


Neat little Skate board pics.


All fitted and Slideing great result phew..

About 4-5 hours work including the Bodgeing/design making of the new parts.
3 Squashed frogs one for when I have my printed parts. Also X carridge Drawing and trial assembly of X caridge boggies X carridge next.. followed by the Y sliders and drive.

From Blogger Pictures