Monday, November 22, 2010

Been busy.

Dawing and re-Drawing my new Repstrap Huxley and Mendel designs so I'v not had time for taking pictures Blogging, FaceBook, Linked-in or Twitter.

Next week I think I should have some pics. If all goes well this week I will be blogging some pictures of my results next week. I will be posting the drawings first on the reprap Wiki.

Sunday, October 31, 2010

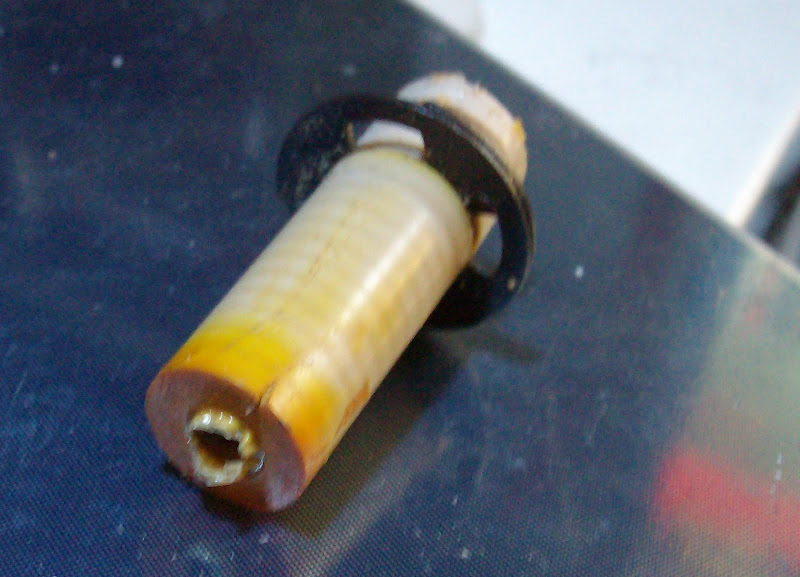
New Hot End ~ Peak insulator melts~ as Thermocouple fell off

The idea was to have a new changeable extruder tip to allow for extruder die swell tests and a swappable 0.3 mm tip.. but alas changing / fixing some thing that's not broke or applying instant design usually fails.


From Blogger Pictures

So my insulator that has extruded by now over a 1lb of ABS I need to remake it was all going so well ;-(.


Lesson learnt do not rely on Kapton tape to hold a thermocouple onto a heater block.


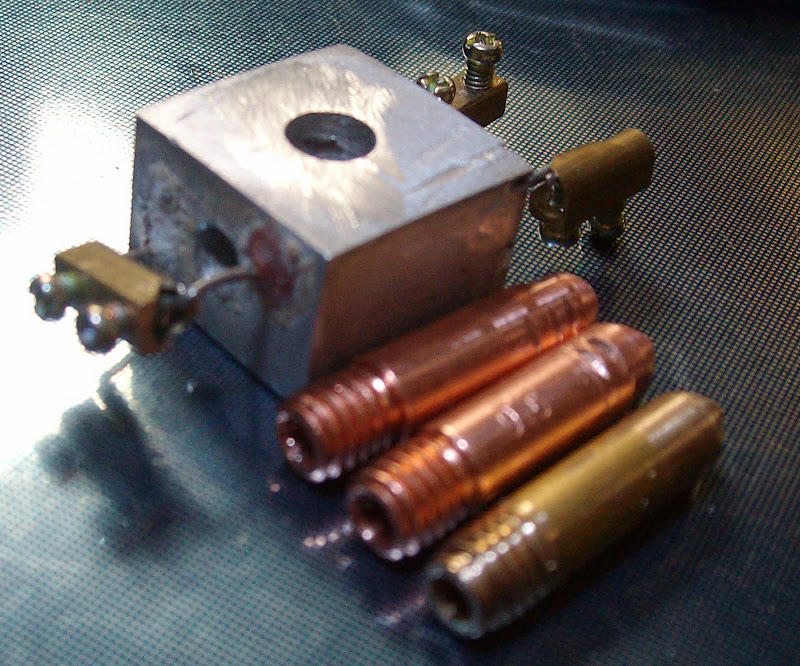
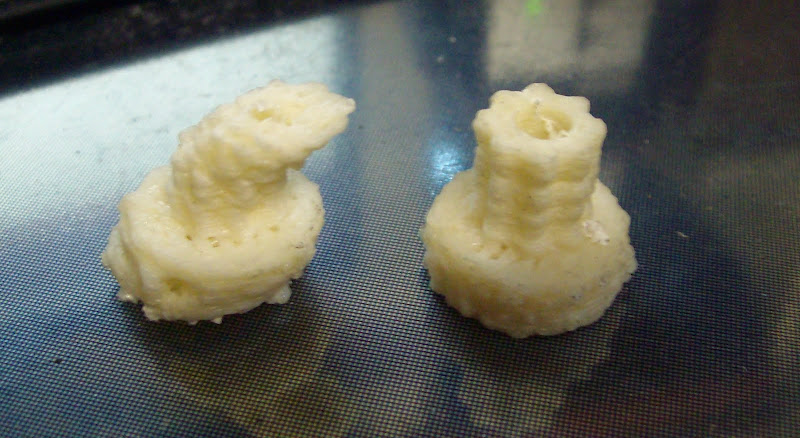
At least I know the heater block works OK.. showing heater bloc and 2 copper 0.6 welding tips and a brass copy with 0.3mm hole.

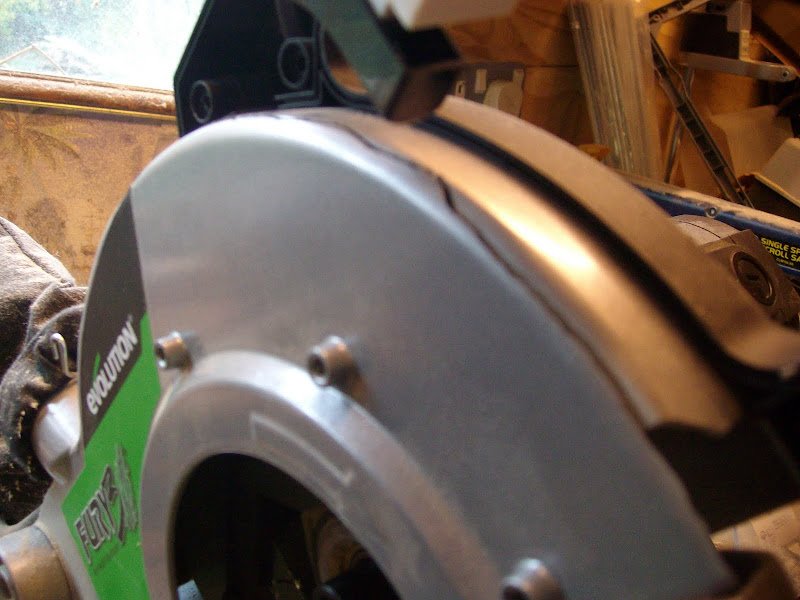
Aside from that my Evolution saw ate itself earlier today not a good day..


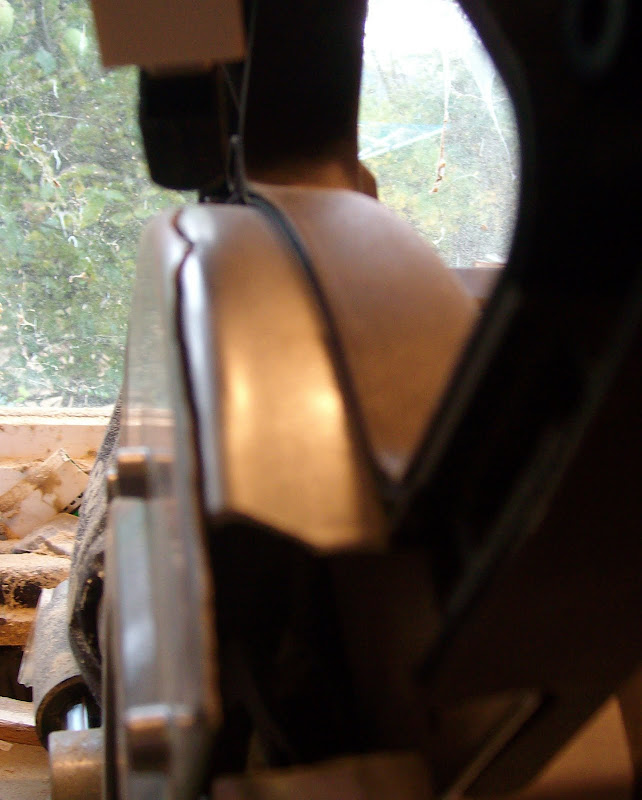
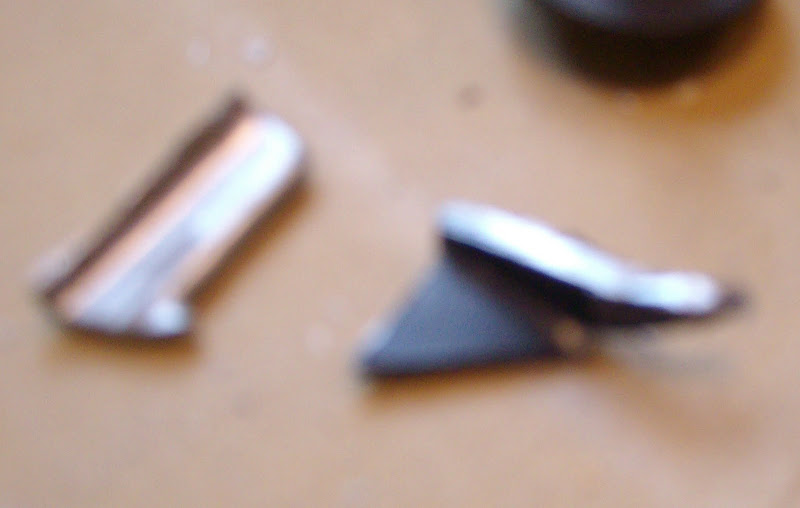
The part on the Right is all that remains of the blade guide the part on the left is part of the blade safety cover.


It looks like the blade guide a two prong fork thing came lose it was shredded by the blade then  flew around blade cover cracking it and the blade safety cover open and the motor mount is also split open. Needles to say it did fail safely. Not happy that it failed though.

Saturday, October 30, 2010

Before and After fixing Y axis wobble

From Blogger Pictures
After chasing my tail the problem of the Y axis instability is solved.

Watching the Y axis I was convinced that I was losing position on the Y axis due to belt slipping jumping on the drive gears..

1/. So I rebuilt the Y stage and the X stage using linear bearings ... The gain was a significant noise reduction Y position wobble still there strange...

2/. Replace the Y belt for 10mm 5mm pitch wire strengthen belt replacing the old 4mm wide xml rubber belt..

No change...


3/ Adjusting the current drive on the Y axis stepper controller threw up a strange effect it was a little like tuneing the stage a small band on the current adjusting resistor rendered zero Y positional wobble.
Problem solved sort of... spent the night thinking about how this could be..

4/. Looked at my firmware again then at the  "Tonkip FiveD" code noticed that disable stepper after a move had been commented out. Thought about it a little remembering stepper tests and how the steppers jerked as the start up.
Modified my code by removing disable steppers code. As I have used all my Sanguino pins Ive lost the power on off pin. So in the time out code that usually switches the power off I have now got disable steppers code. I also adjusted the M80 instruction to disable stepper.

So after a print I now send an M80 

Y axis positional wobble  was caused by the stepper motor jerking as it was restarting for each move also explaining the ability to tune the effect out by adjusting the current. The belt movement is now not jerking but as its kept taught.

The side effect again is the whole thing is quieter than my laser and ink jet printers where as originally you could hear it in the house 14 meters away from the fully insulated  home office.

Im still struggling slightly with making rafts tht stay down on the perspex
Its ok for things like a Nopheads belt drive gear and Eriks standing-mini-mendel-vertex with an 8mm border. However if printing some thing flat I still get warping if any one could sugest the best thicknes of the first layer of the raft and the height of the next two layers to prevent warping that would be great start. Im using repsapper.

Im still trying to get a heated bed to work

Wednesday, October 27, 2010

Quick Problem update

Problem after problem gradually solved one after another..

First problem was making the raft stick to Perspex eventually solved by fine tuning the first layer of the raft.

It must be slightly squashed but not so squashed that the extruder cant extrude.. and the filament kinks into a coil filling the space between the drive and the insulator.

Next problem make sure you have the latest version of Repsnapper not the version pointed to by the RepRap WIKI the latest version is in the source in a directory called release. Though I'm not sure exactly what the difference is between the two windows version in the source other than they have slightly different UI interfaces.

Next I found a bug in raft creation on Repsnapper its only shows if acceleration is not turned on. the second layer of raft creates G-code that has the E value missing for the middle section of the second layer the first 4 passes are OK then the middle section E values are missed out then the last 4 passes of the layer are OK.

G1 X102.59 Y94.0193 E82.5899 F2300
G1 X20 Y92.0193 E82.5899 F2300
G1 X102.59 Y90.0193 E82.5899 F2300
G1 X20 Y88.0193 E82.5899 F2300
G1 X102.59 Y86.0193 E82.5899 F2300
G1 X20 Y84.0193 E82.5899 F2300
G1 X102.59 Y82.0193 E82.5899 F2300
G1 X20 Y80.0193 E82.5899 F2300
G1 X102.59 Y78.0193 F2300
G1 X20 Y76.0193 F2300
G1 X102.59 Y74.0193 F2300
G1 X20 Y72.0193 F2300
G1 X102.59 Y70.0193 F2300
G1 X20 Y68.0193 F2300
G1 X102.59 Y66.0193 F2300
G1 X20 Y64.0193 F2300
G1 X102.59 Y62.0193 F2300
G1 X20 Y60.0193 F2300
G1 X102.59 Y58.0193 F2300
G1 X20 Y56.0193 F2300
G1 X102.59 Y54.0193 F2300
G1 X20 Y52.0193 F2300
G1 X102.59 Y50.0193 F2300
G1 X20 Y48.0193 F2300
G1 X102.59 Y46.0193 F2300
G1 X20 Y44.0193 F2300
G1 X102.59 Y42.0193 F2300
G1 X20 Y40.0193 F2300
G1 X102.59 Y38.0193 F2300
G1 X20 Y36.0193 F2300
G1 X102.59 Y34.0193 E82.5899 F2300
G1 X20 Y32.0193 E82.5899 F2300
G1 X102.59 Y30.0193 E82.5899 F2300
G1 X20 Y28.0193 E82.5899 F2300
G1 X102.59 Y26.0193 E82.5899 F2300
G1 X20 Y24.0193 E82.5899 F2300
G1 X102.59 Y22.0193 E82.5899 F2300
G1 X20 Y20.0193 E82.5899 F2300
G1 F70 ;Move Z
G1 Z3.3 F70 ;Move Z

Switch acceleration on and its all fixed.. strange bug..
However the accelerated G-code also seems to have a very high number of feed rate setting G codes added that are identical.

G1 F2300
G1 X23 Y94.0193 E3 F2300
G1 X99.5899 Y94.0193 E76.5899 F2300
G1 X102.59 E3 F2300
G1 F2300
G1 X99.5899 Y92.0193 F2300
G1 X23 Y92.0193 E76.5899 F2300
G1 X20 E3 F2300
G1 F2300
G1 X23 Y90.0193 F2300
G1 X99.5899 Y90.0193 E76.5899 F2300
G1 X102.59 E3 F2300
G1 F2300
G1 X99.5899 Y88.0193 F2300
G1 X23 Y88.0193 E76.5899 F2300
G1 X20 E3 F2300
G1 F2300
G1 X23 Y86.0193 F2300
G1 X99.5899 Y86.0193 E76.5899 F2300
G1 X102.59 E3 F2300
G1 F2300
G1 X99.5899 Y84.0193 F2300
G1 X23 Y84.0193 E76.5899 F2300
G1 X20 E3 F2300
G1 F2300
G1 X23 Y82.0193 F2300
G1 X99.5899 Y82.0193 E76.5899 F2300
G1 X102.59 E3 F2300
G1 F2300
G1 X99.5899 Y80.0193 F2300
G1 X23 Y80.0193 E76.5899 F2300
G1 X20 E3 F2300
G1 F2300
G1 X23 Y78.0193 F2300
G1 X99.5899 Y78.0193 E76.5899 F2300
G1 X102.59 E3 F2300
G1 F2300
G1 X99.5899 Y76.0193 F2300
G1 X23 Y76.0193 E76.5899 F2300
G1 X20 E3 F2300
G1 F2300
G1 X23 Y74.0193 F2300
G1 X99.5899 Y74.0193 E76.5899 F2300
G1 X102.59 E3 F2300
G1 F2300
G1 X99.5899 Y72.0193 F2300
G1 X23 Y72.0193 E76.5899 F2300
G1 X20 E3 F2300
G1 F2300
G1 X23 Y70.0193 F2300
G1 X99.5899 Y70.0193 E76.5899 F2300
G1 X102.59 E3 F2300
G1 F2300
G1 X99.5899 Y68.0193 F2300
G1 X23 Y68.0193 E76.5899 F2300
G1 X20 E3 F2300
G1 F2300
G1 X23 Y66.0193 F2300
G1 X99.5899 Y66.0193 E76.5899 F2300
G1 X102.59 E3 F2300
G1 F2300
G1 X99.5899 Y64.0193 F2300
G1 X23 Y64.0193 E76.5899 F2300
G1 X20 E3 F2300
G1 F2300
G1 X23 Y62.0193 F2300
G1 X99.5899 Y62.0193 E76.5899 F2300
G1 X102.59 E3 F2300
G1 F2300
G1 X99.5899 Y60.0193 F2300
G1 X23 Y60.0193 E76.5899 F2300
G1 X20 E3 F2300
G1 F2300
G1 X23 Y58.0193 F2300
G1 X99.5899 Y58.0193 E76.5899 F2300
G1 X102.59 E3 F2300
G1 F2300
G1 X99.5899 Y56.0193 F2300
G1 X23 Y56.0193 E76.5899 F2300
G1 X20 E3 F2300
G1 F2300
G1 X23 Y54.0193 F2300
G1 X99.5899 Y54.0193 E76.5899 F2300
G1 X102.59 E3 F2300
G1 F2300
G1 X99.5899 Y52.0193 F2300
G1 X23 Y52.0193 E76.5899 F2300
G1 X20 E3 F2300
G1 F2300
G1 X23 Y50.0193 F2300
G1 X99.5899 Y50.0193 E76.5899 F2300
G1 X102.59 E3 F2300
G1 F2300
G1 X99.5899 Y48.0193 F2300
G1 X23 Y48.0193 E76.5899 F2300
G1 X20 E3 F2300
G1 F2300
G1 X23 Y46.0193 F2300
G1 X99.5899 Y46.0193 E76.5899 F2300
G1 X102.59 E3 F2300
G1 F2300
G1 X99.5899 Y44.0193 F2300
G1 X23 Y44.0193 E76.5899 F2300
G1 X20 E3 F2300
G1 F2300
G1 X23 Y42.0193 F2300
G1 X99.5899 Y42.0193 E76.5899 F2300
G1 X102.59 E3 F2300
G1 F2300
G1 X99.5899 Y40.0193 F2300
G1 X23 Y40.0193 E76.5899 F2300
G1 X20 E3 F2300
G1 F2300
G1 X23 Y38.0193 F2300
G1 X99.5899 Y38.0193 E76.5899 F2300
G1 X102.59 E3 F2300
G1 F2300
G1 X99.5899 Y36.0193 F2300
G1 X23 Y36.0193 E76.5899 F2300
G1 X20 E3 F2300
G1 F2300
G1 X23 Y34.0193 F2300
G1 X99.5899 Y34.0193 E76.5899 F2300
G1 X102.59 E3 F2300
G1 F2300
G1 X99.5899 Y32.0193 F2300
G1 X23 Y32.0193 E76.5899 F2300
G1 X20 E3 F2300
G1 F2300
G1 X23 Y30.0193 F2300
G1 X99.5899 Y30.0193 E76.5899 F2300
G1 X102.59 E3 F2300
G1 F2300
G1 X99.5899 Y28.0193 F2300
G1 X23 Y28.0193 E76.5899 F2300
G1 X20 E3 F2300
G1 F2300
G1 X23 Y26.0193 F2300
G1 X99.5899 Y26.0193 E76.5899 F2300
G1 X102.59 E3 F2300
G1 F2300
G1 X99.5899 Y24.0193 F2300
G1 X23 Y24.0193 E76.5899 F2300
G1 X20 E3 F2300
G1 F2300
G1 X23 Y22.0193 F2300
G1 X99.5899 Y22.0193 E76.5899 F2300
G1 X102.59 E3 F2300
G1 F2300
G1 X99.5899 Y20.0193 F2300
G1 X23 Y20.0193 E76.5899 F2300
G1 X20 E3 F2300
G1 F70 ;Move Z
G1 Z3.3 F70 ;Move Z

As my Rep strap Mendel was so loud I rebuilt all axis removing the skate bearings and using some linear bearings its much quieter now (i.e you cant hear it outside the Home Office)

The next problem is Y belt jump/bounce I'm not sure if this is a common problem as I haven't seen it mentioned any where so It must be some thing peculiar to my set up.

I'm still using the original 80 thou" pitch belt bought from the RRRF ages ago. or 2.032mm pitch belt cut down to 4mm wide.

looking at a scanner that has a similar length of movement with a similar un-wired belt, I will try to simplify the rep strap Mendel drive to be more like the scanner drive belt system.

I do hope some one finds a neat way to re-cycle ABS waste as I have a growing collection building in a cardboard box now.

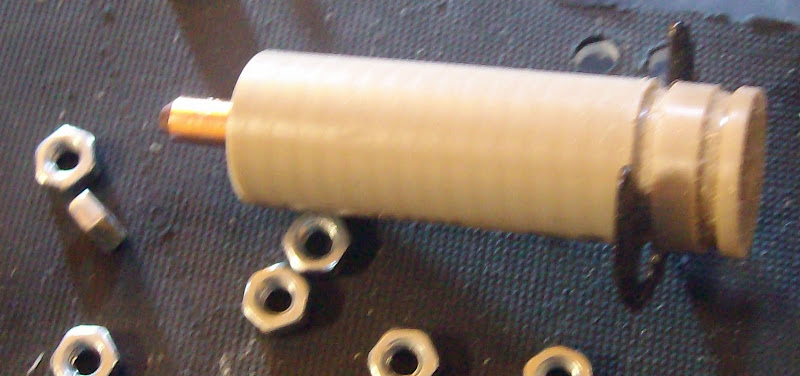
I'm very pleased with the performance of  my Mk5.5 Worm drive extruder that uses only 40mm of 16mm peek insulator with a 4.2mm hole through it and a 0.6mm welding tip with nichrome wire wraped around it. with a 4.2mm hole through it details and drawing I will post later.

Friday, October 8, 2010

Beginners luck.... ran out Warping warping nothing but warping...

Even though I had the Potbelly well stoked up and the temperature in the home office T shirt weather.

I fixed every thing that showed as a problem in the first print Tensioner for Y belt, filament reel etc.

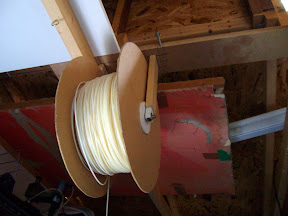
Reel made from hardboard with £1 shop paint brush stand as the core covered in thick card 2 skate bearings 8mm threaded rod and two  22mm pipe clips drew around garden sieve to get sides. Tensioner two fix-it plastic blocks 2 springs 2 long 4mm screws 2 big washers 4 small washers 1 shorter 4mm screws 5 4mm nuts. 1 small bearing with 4mm hole.

I tried desperate measures to stop warping bigger rafts warming the print bed plate up on the Potbelly stove  before printing. So alas I must now find a way of using uninsulated Ni-chrome to heat the bed the other heated beds I made are all for Huxley / Mini Mendel so are too small.


As recomended by Kulitorum this is a RepRap Mendel Fan Mount from Thingyverse

The only explanation I can think of for the reasonable print of the Two spoons print is it has such a large overhang  i.e. it almost floats over the raft. That was why it did not warp.. just pure luck I saw it on the pipe when I was looking for my next test thing to try..

Next jobs Heated bed from what I have to hand without changing the structure of the existing almost working printer. Modifying the code to include a heated bed or using  a Pid controller with separate PSU... making a case to Suround the printer in case Midge opens the door to the cold out side. to prevent this I have waited till she is busy painting in the conservatory.

Thursday, October 7, 2010

Its been a good day for firsts.

Its been a good day for firsts.
The first fire in the Pot belly stove yea!!! and now Ta Da the first Repstrap Mendel print  using Bodgeits Extruder Mk5 Bodgeits modified version of Tonkip's 5D Gcode Interpreter firmware using Rep Snapper Host Software.

First here is a pic of the calibration prints or the eleven failed prints....


Failed due to things like extruder feed rate guesstimate was wrong, Z was too close to print, filament feed got stuck, X axis belt was slipping.
The only adjustment I need to do now is tighten the Y axis belt as it has a little slack that shows up when you watch the belt.

Then I can start to fine tune the speed and parameters in Rep-snapper.

So here is the clip of Rep Strap Mendel having a go at printing. 2 teaspoons // tablespoons at once!


Extruder details are as follows.

The extruder has an insulator of 16mm diameter 40mm long Peek with a 4.2mm hole through it with 6mm long 6mm thread hole to take a 6mm diameter 25mm long 0.6mm Welding tip.
The Welding tip is drilled out to 3.2mm for 24.2mm of its depth, leaving a 0.8mm long 0.6mm diameter hole to extrude thru.

6.8 ohms of Nichrome is wound onto the 25mm welding tip with a thermcouple and Kapton tape. Temprature measured using AD595A.

Plastic used ABS temprature was set to 255C

Wednesday, September 29, 2010

Quick update

The last September "Midge Ace Art studio open day" completed back to reprapping again..!

These were the Next Jobs:-

Get Pid or Bang Bang Extruder temprature control part working. Done
Get Pid or Bang Bang Build Base temprature control part working. Done

Make the drawings for Worm drive Extruder stepper.  Done (but took longer than expected!!)
.... drawings stepped up from Extruder MK3 to now Extruder Mk5 seems to be working very well so far.
I was able to hot swap ABS filament 

Make full size Mendel heated Bed with removable print surface as per WIKI . Done

Changes made to Mendel heated Bed 4mm Aluminum, extrude slot drilled out with 32mm drill, 6mm MDF insulation layer, Kapton tape electrical insulation layer nichrome wire heater element as used on my Huxley Fire glass heated bed in February.


Next Jobs
Firmware experiments to find best firmware combination/setup for RepSnapper to use with a single Arduino CPU configuration.

Then commit/post the final firmware as used on Bodgeits Git Hub repository.
Add pin config data and cct of FET drivers.

Make three more MK5 Worm drive Extruder steppers.
Re-build Repstrap Huxley1 adding precision ground slide bars with linear bearings.

Sunday, September 19, 2010

Connections for adding the Worm drive extruder stepper to Mendel.

V2.3 Stepper motor connections reminder sheet for Worm drive extruder stepper.

Pin Colour Name Function Motherboard V1.1
1 Brown N/C N/C
2 Red GND Ground. GND
3 Orange Step 500ns Step pulse Digital 10
4 Yellow Dir Set direction Digital 11
5 Green  !Enable Enable stepper Digital 14
6 Blue Min Min not used on Extruder
7 Violet Max Max not used on Extruder
8 Grey GND Ground.
9 White GND Ground.
10 Black GND Ground.


Connected and working using RepSnapper yay....

BodgeIts Next Jobs:-

Get Pid or Bang Bang Extruder temprature control part working.
Get Pid or Bang Bang Build Base temprature control part working.

Make the drawings for Worm drive Extruder stepper.
Make three more Worm drive Extruder steppers.
Re-build Repstrap Huxley1 adding presision ground slide bars with linear bearings.

Friday, September 17, 2010

BodgeIts Ardrino /Sanguino Motherboard 1.1 Pin / function crib table

Bodge It's Sanguino Motherboard 1.1 crib table dervied from this data on www.sanguino.cc and this circuit diagram on http://reprap.org/wiki/File:Cache-3316884519_b84b59fc90_b.jpg 

This is the resulting work table used to define BodgeIts pins in the FiveD Gcode Interpreter.

ATMega 644P ATMegag 644A


Chip Pin Chip Pin AtMega Name Arduino Name Function 1 Function 2 Function 3 Motherboard Use 1 REPRAP Use Bodgeits Use
1 40 PB-0 Digital 0 In/Out

Debug Led Debug Led Debug Led Digital 0
2 41 PB-1 Digital 1 In/Out


Digital 1
3 42 PB-2 Digital 2 In/Out INT 2
SD Card Write SD Card Write SD Card Write Digital 2
4 43 PB-3 Digital 3 In/Out PWM
SD Card Detect SD Card Detect SD Card Detect Digital 3
5 44 PB-4 Digital 4 In/Out PWM SS SD Card Select SD Card Select SD Card Select Digital 4
6 1 PB-5 Digital 5 In/Out MOS1
ICSP MOSI SD Card MOSI SD Card MOSI Digital 5
7 2 PB-6 Digital 6 In/Out MOS0
ICSP MISO SD Card MISO SD Card MISO Digital 6
8 3 PB-7 Digital 7 In/Out SCK
ICSP SCK SD Card SCK SD Card SCK Digital 7
14 9 PD-0 Digital 8 In/Out RX0
USB TTL RXD USB TTL RXD USB TTL RXD Digital 8
15 10 PD-1 Digital 9 In/Out TX0
USB TTL TXD USB TTL TXD USB TTL TXD Digital 9
16 11 PD-2 Digital 10 In/Out RX1 INT0 RS485 RXD RS485 RXD EXTRUDER_0_MOTOR_SPEED_PIN Digital 10
17 12 PD-3 Digital 11 In/Out TX1 INT1 RS485 TXD RS485 TXD EXTRUDER_0_MOTOR_DIR_PIN Digital 11
18 13 PD-4 Digital 12 In/Out PWM
RS485 TXE RS485 TXE EXTRUDER_0_HEATER_PIN Digital 12
19 14 PD-5 Digital 13 In/Out PWM
RS485 RXE RS485 RXE BASE_HEATER_PIN Digital 13
20 15 PD-6 Digital 14 In/Out PWM
PS_ON_Pin PS_ON_Pin EXTRUDER_0_STEP_ENABLE_PIN Digital 14
21 16 PD-7 Digital 15 In/Out PWM

X_Step_Pin X_Step_Pin Digital 15
22 19 PC-0 Digital 16 In/Out SCL
I2C SCL I2C SCL I2C SCL Digital 16
23 20 PC-1 Digital 17 In/Out SDA
I2C SDA I2C SDA I2C SDA Digital 17
24 21 PC-2 Digital 18 In/Out TCK
JTAG TCK X_Direction_Pin X_Direction_Pin Digital 18
25 22 PC-3 Digital 19 In/Out TMS
JTAG TMS X_Enable_Pin X_Enable_Pin Digital 19
26 23 PC-4 Digital 20 In/Out TD0
JTAG TD0 X_Min_Pin X_Min_Pin Digital 20
27 24 PC-5 Digital 21 In/Out TD1
JTAG TDI X_Max_Pin EXTRUDER_0_FAN_PIN Digital 21
28 25 PC-6 Digital 22 In/Out


Y_Direction_Pin Y_Direction_Pin Digital 22
29 26 PC-7 Digital 23 In/Out


Y_Step_Pin Y_Step_Pin Digital 23
33 37 PA-7 Digital 24 In/Out Analogue 7

Y_Enable_Pin Y_Enable_Pin Digital 24
34 36 PA-6 Digital 25 In/Out Analogue 6

Y_Min_Pin Y_Min_Pin Digital 25
35 35 PA-5 Digital 26 In/Out Analogue 5

Y_Max_Pin Bed Temp Digital 26
36 34 PA-4 Digital 27 In/Out Analogue 4

Z_Step_pin Z_Step_pin Digital 27
37 33 PA-3 Digital 28 In/Out Analogue 3

Z_Direction_pin Z_Direction_pin Digital 28
38 32 PA-2 Digital 29 In/Out Analogue 2

Z_Enable_Pin Z_Enable_Pin Digital 29
39 31 PA-1 Digital 30 In/Out Analogue 1

Z_Min_Pin Z_Min_Pin Digital 30
40 30 PA-0 Digital 31 In/Out Analogue 0

Z_Max_Pin EXTRUDER_0_TEMPERATURE_PIN Digital 31


9 4 RST


ICSP Reset JTAG Reset

10 6,18,38 VCC


ICSP VCC JTAG VCC

11 5,17,33 GND


ICSP GND JTAG GND

12 7 XTAL2


13 8 XTAL1


30 27 AVCC


31 28 GND


32 29 AREF


Thursday, September 16, 2010

BodgeIt is RepRapping in the Home Office at last!!

After a lot of playing around with Firmware and software I have decided to use the Repsnapper host software with a customized version of the 5D firmware. As I'm using a mixture of hardware on the various repstraps that I have.

So :-

RepstrapMendel is using Motherboard V1.1 with 4  2.3 stepper controllers the original PWM driver V1.1 board.

RepstrapHuxley1 is using Motherboard V1.1 with 3  2.3 stepper 1 Bodgeit micro Stepper & Vero FET Bd

RepstrapHuxley2 is using AudrinoMega with  4  1.2 stepper controllers & Vero FET switching board.

RepstrapDarwin1 is using AudrinoDemiglove with 4  1.2 stepper controller with a Vero FET switching board

RepstrapDarwin2  TBD (I need to make use of 4 extruder controllers that are currently redundant)


I made the two Huxley's way back in February this year when they would have been called mini Mendel's.
Once I finish the easier to make Mrk2 Huxley Strap I will post all the drawings in the WIKI if I learn to drive the WIKI input interface.

I have abandoned the MDF Makerbot build due to RS485 problems on V2.1 Extruder controllers.
I can now build the Makerbot firmware using my Ubunto10.04 machine (Thanks to several hours of work from Midge Ace  in exchange for setting up her Art studio & Conservatory then building her a 4.5m x 4.8m decking for the Cheshire Open Studios event last week and the weekend after next)

However my next most important job is to install the Potbelly stove in the home Office as its beginning to get a bit nippy at night in here.